Home / Articles / Price action Follow a thread Price action Explore the articles connected by this topic.
36 articles
Filter articles · filters applied All subjects 36 Trading basics 0 Charts & candlesticks 26 Entry techniques 10 Stops & exits 0 Filter by difficulty All levels Beginner Intermediate
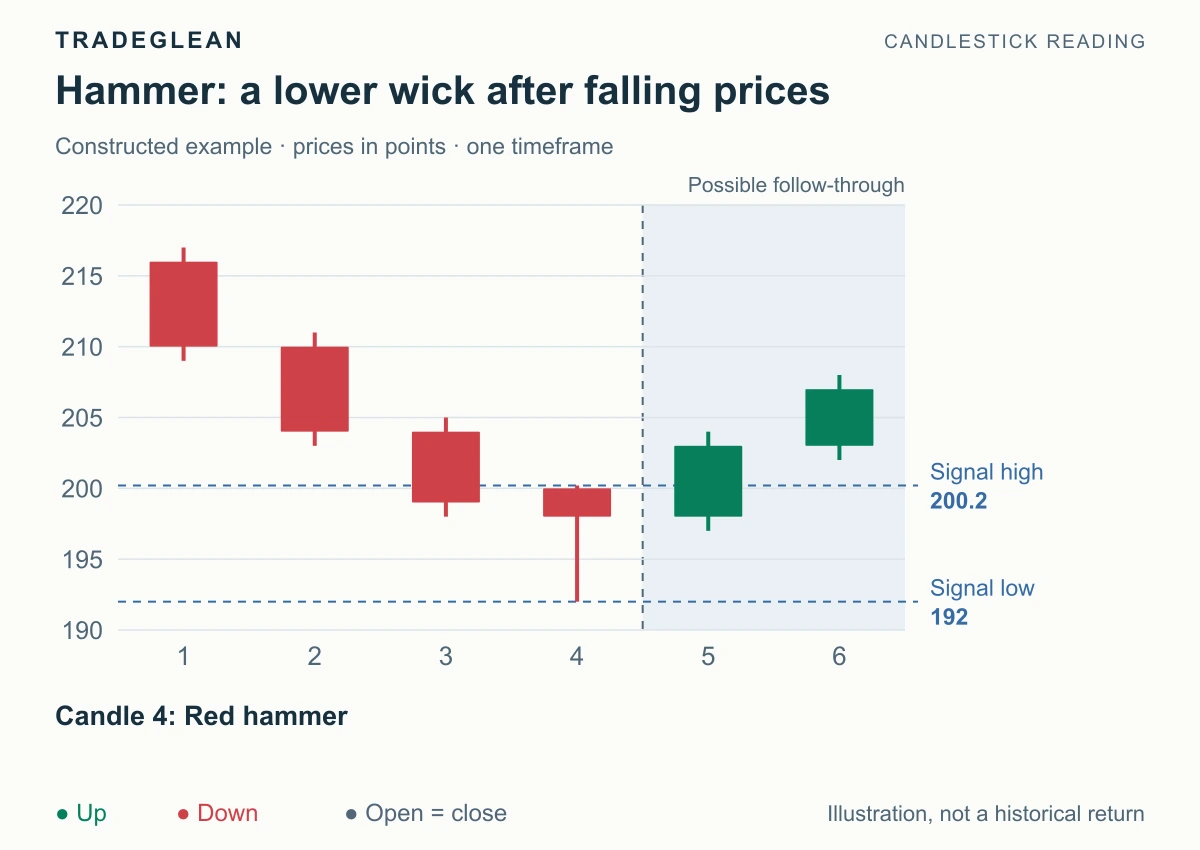
Charts & candlesticks Compare a hammer and shooting star with measured candle examples. Learn which wick matters, how the prior move changes the name, and why color alone is insufficient.
Beginner Oct 7, 2026 6 min read By Adrian
Read article Charts & candlesticks Give the larger and smaller charts different jobs, use completed candles, and avoid changing timeframes to rescue a failed setup.
Beginner Sep 14, 2026 4 min read By Adrian
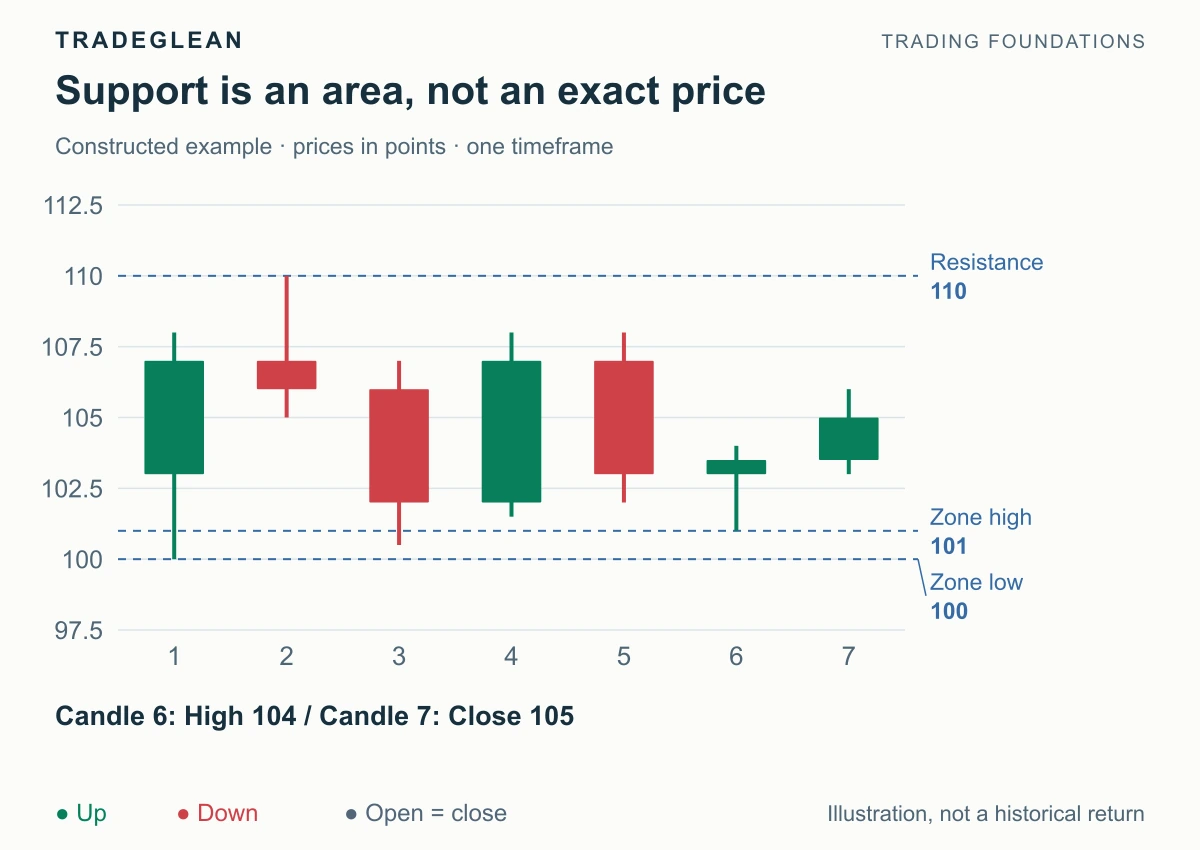
Read article Charts & candlesticks Use visible swing reactions to mark support and resistance, distinguish a touch from a rejection, and define when a level has failed.
Beginner Sep 14, 2026 4 min read By Adrian
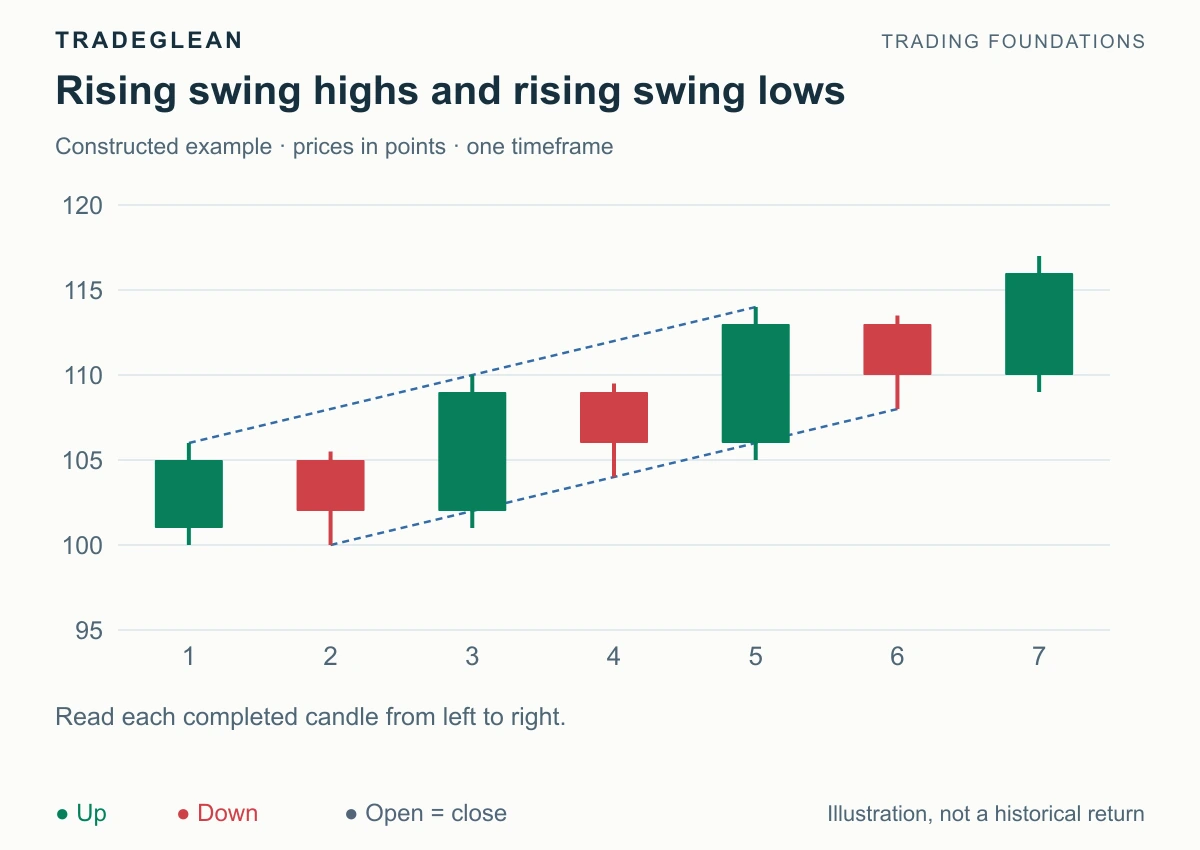
Read article Charts & candlesticks Distinguish directional progress from repeated overlap, recognize a transition, and choose a method that fits the current market structure.
Beginner Sep 14, 2026 4 min read By Adrian
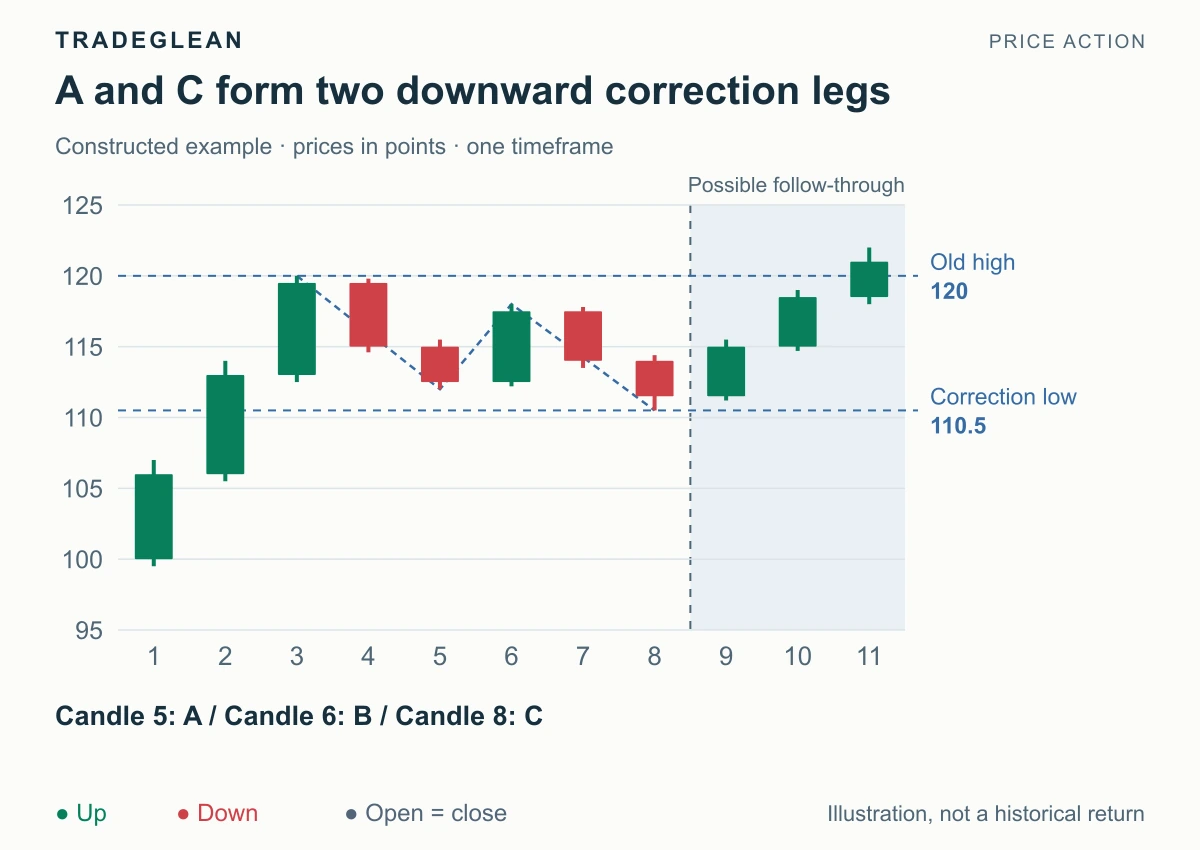
Read article Charts & candlesticks Identify a complex pullback, compare it with a simple correction or reversal, and read ABC legs, confirmation levels, and remaining reward versus risk.
Intermediate Sep 13, 2026 7 min read By Adrian
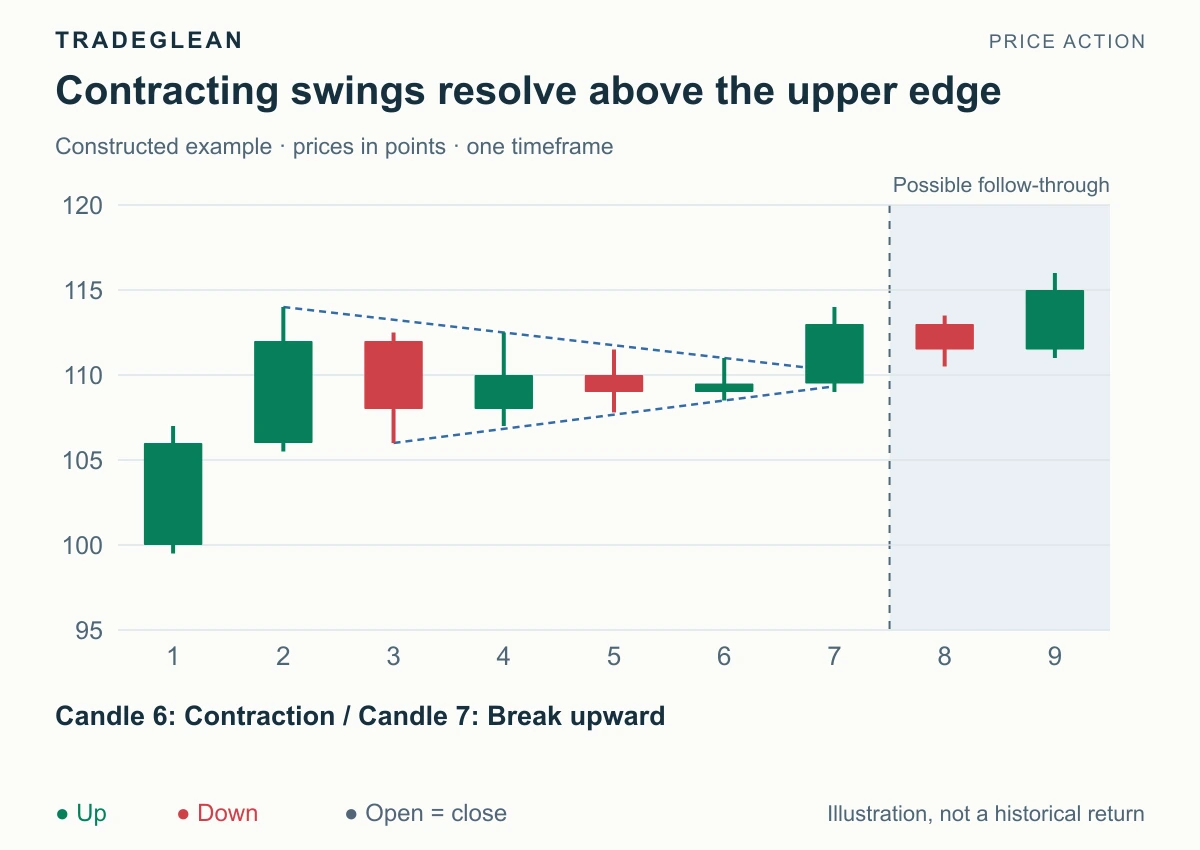
Read article Charts & candlesticks Distinguish contracting and expanding price structures, identify their actual boundaries, and read the confirmed breakout without guessing from the outline.
Intermediate Sep 13, 2026 5 min read By Adrian
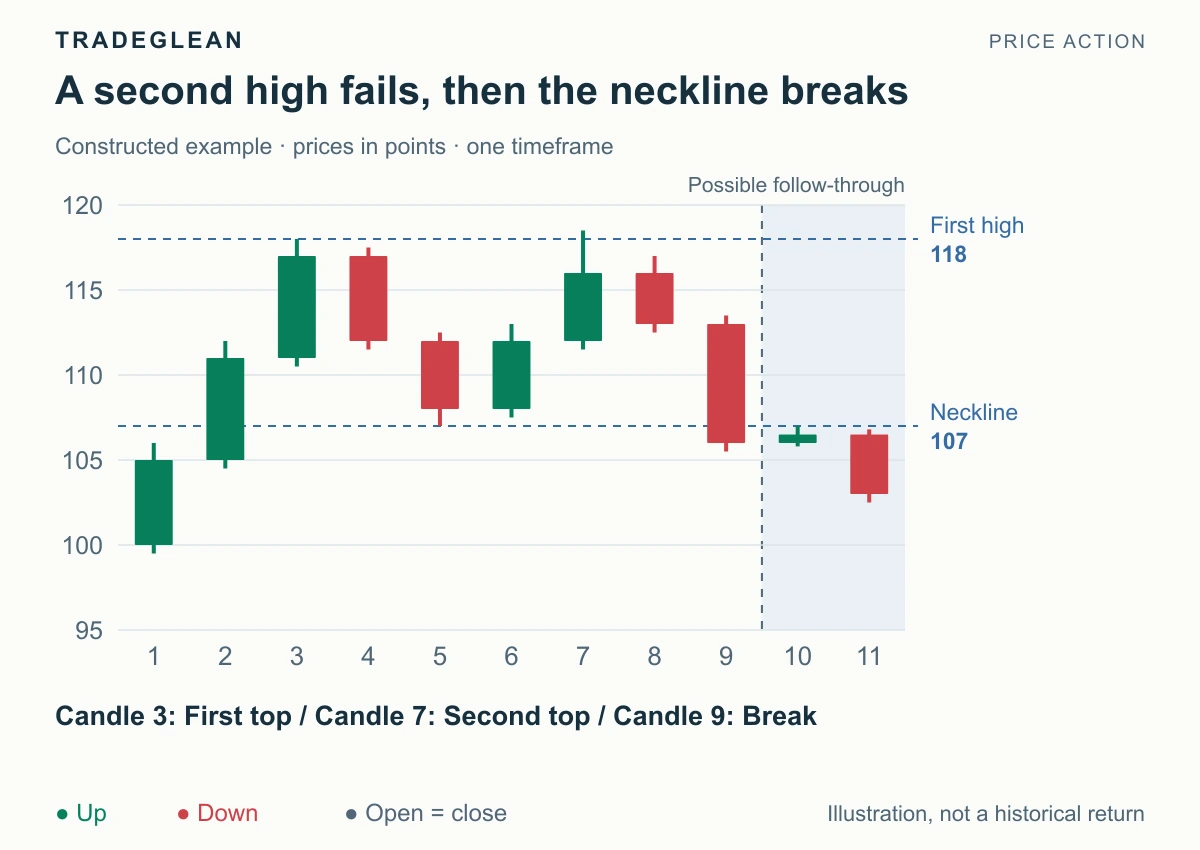
Read article Charts & candlesticks Recognize double tops and double bottoms, distinguish a second test from a completed reversal, and locate the neckline that confirms the direction.
Beginner Sep 13, 2026 4 min read By Adrian
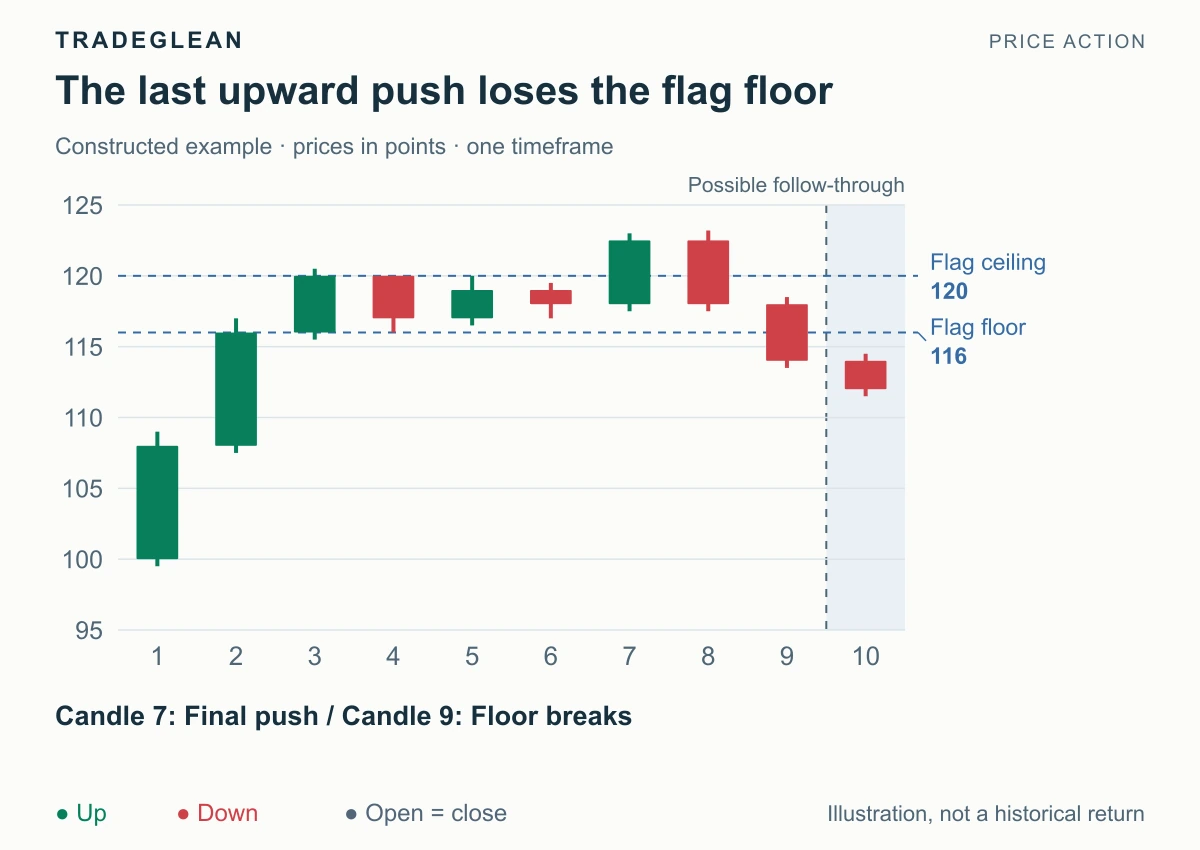
Read article Entry techniques Recognize a final-flag reversal through a pause, one more trend extension, and a confirmed return through the flag's opposite boundary.
Intermediate Sep 13, 2026 4 min read By Adrian
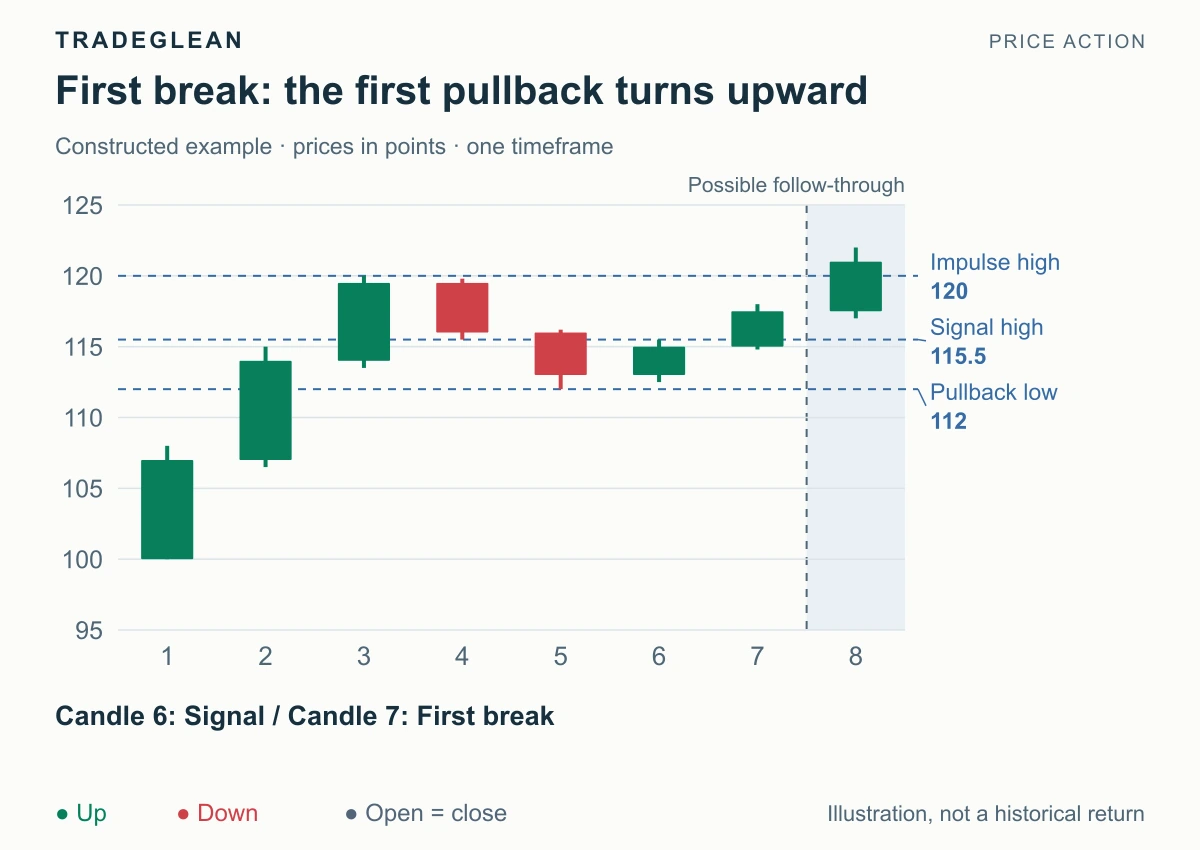
Read article Entry techniques Distinguish FB and SB pullback setups, identify first and second trend-recovery attempts, and compare their confirmation, location, and failure boundaries.
Intermediate Sep 13, 2026 6 min read By Adrian
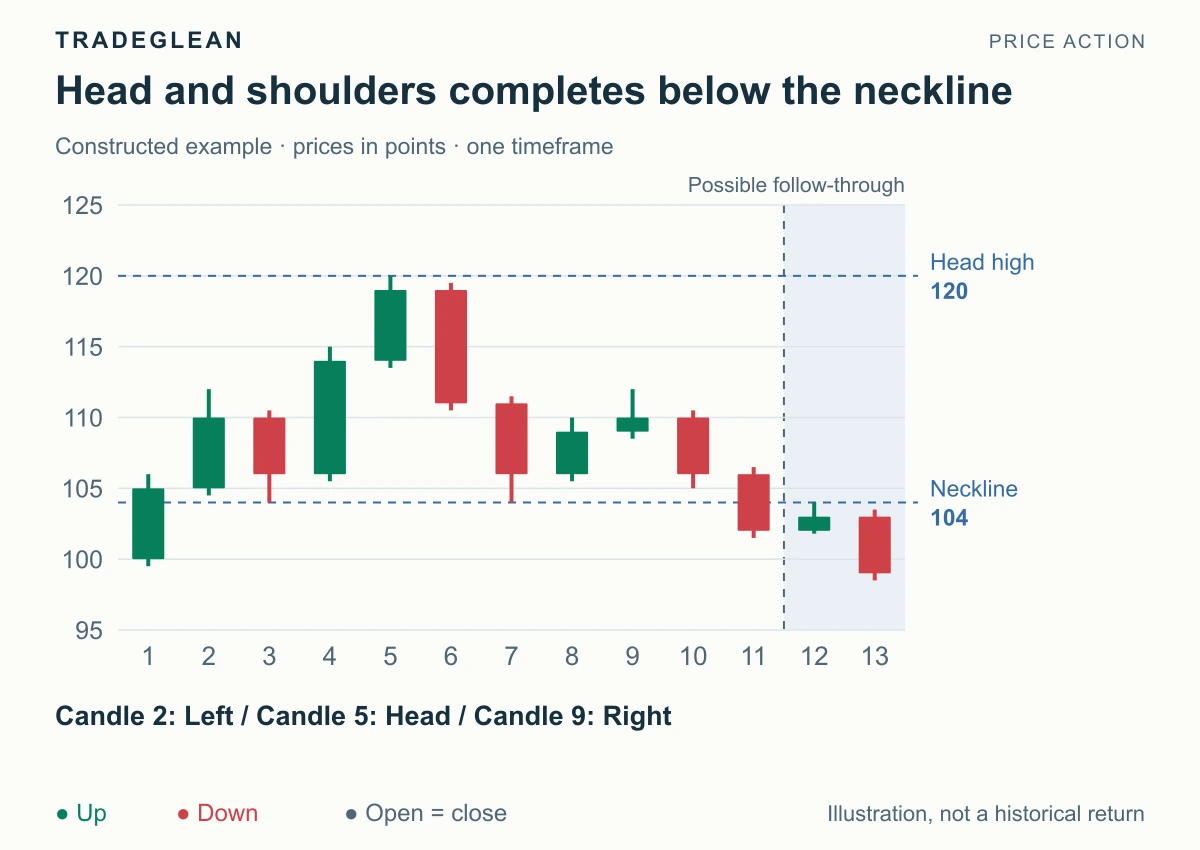
Read article Charts & candlesticks Identify head-and-shoulders tops and bottoms through their pivots and neckline, then distinguish the completed reversal from an unfinished outline.
Intermediate Sep 13, 2026 4 min read By Adrian
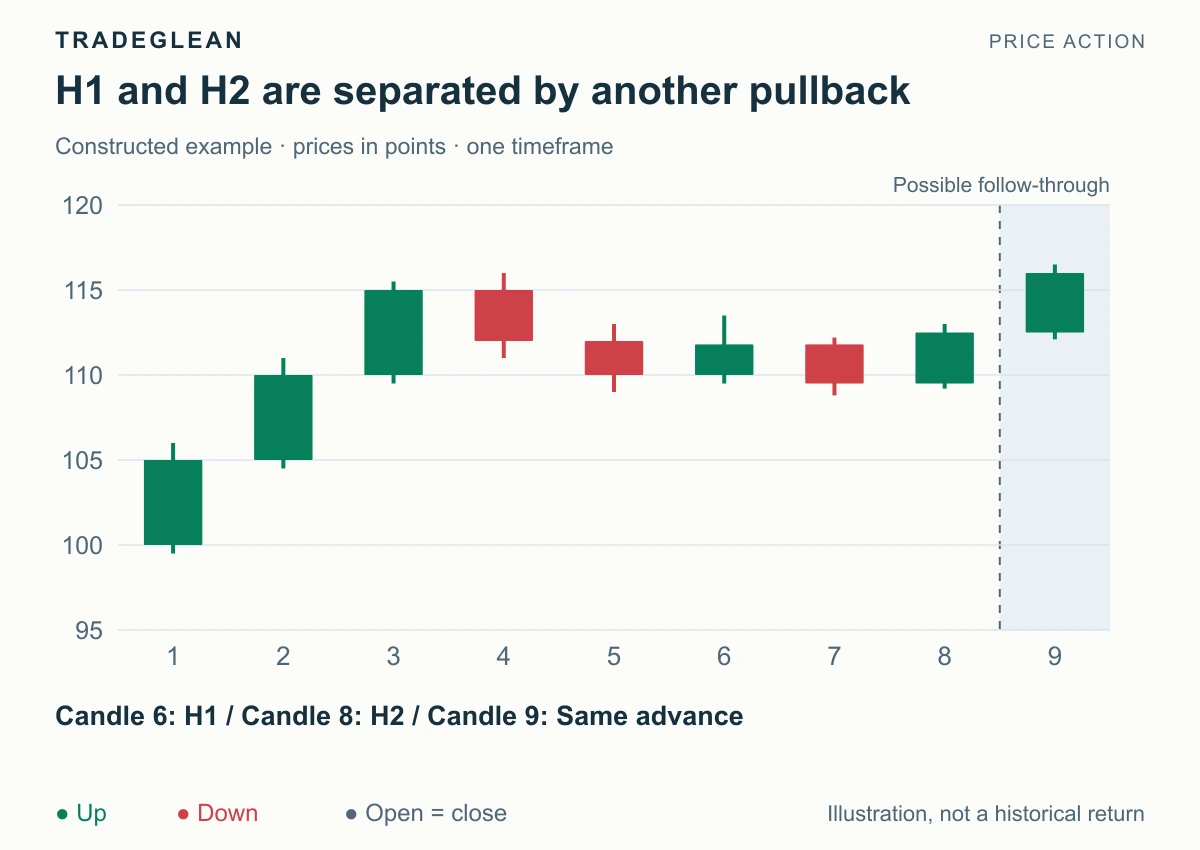
Read article Entry techniques Learn to count first and second attempts to resume a trend, distinguish a trigger from a swing high, and reset the count when the pullback ends.
Intermediate Sep 13, 2026 5 min read By Adrian
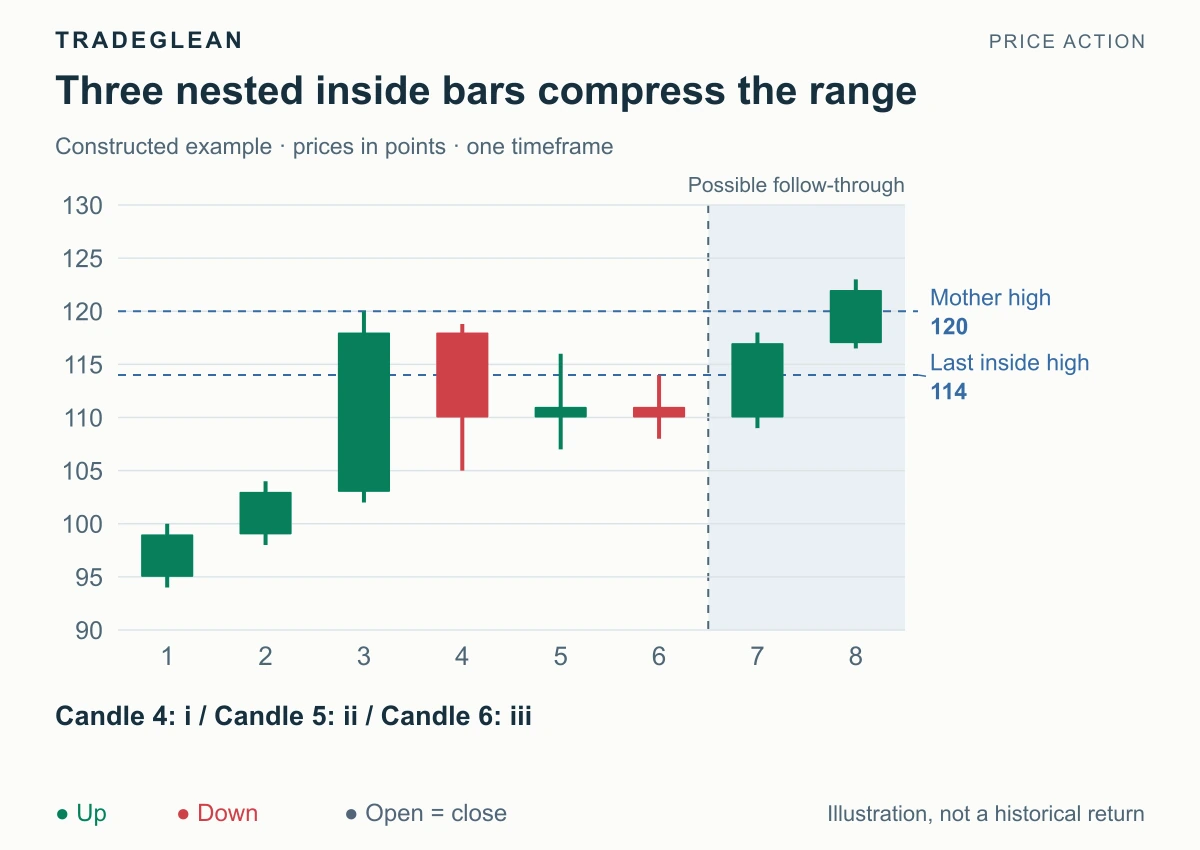
Read article Charts & candlesticks Count nested inside bars and inside-outside-inside sequences, mark their inner and outer boundaries, and connect a breakout to the surrounding trend.
Intermediate Sep 13, 2026 5 min read By Adrian
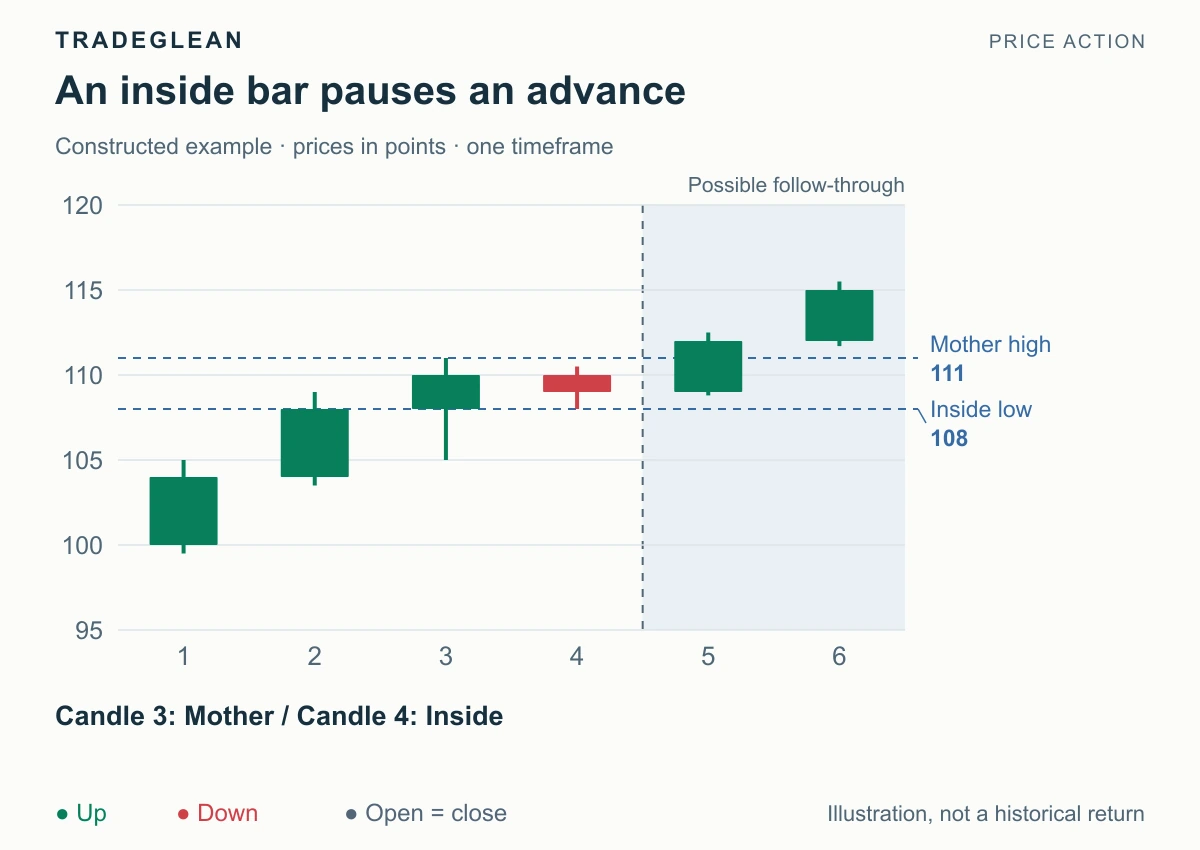
Read article Charts & candlesticks Identify inside and outside bars using complete highs and lows, distinguish them from body engulfing, and use context to choose a directional setup.
Beginner Sep 13, 2026 5 min read By Adrian
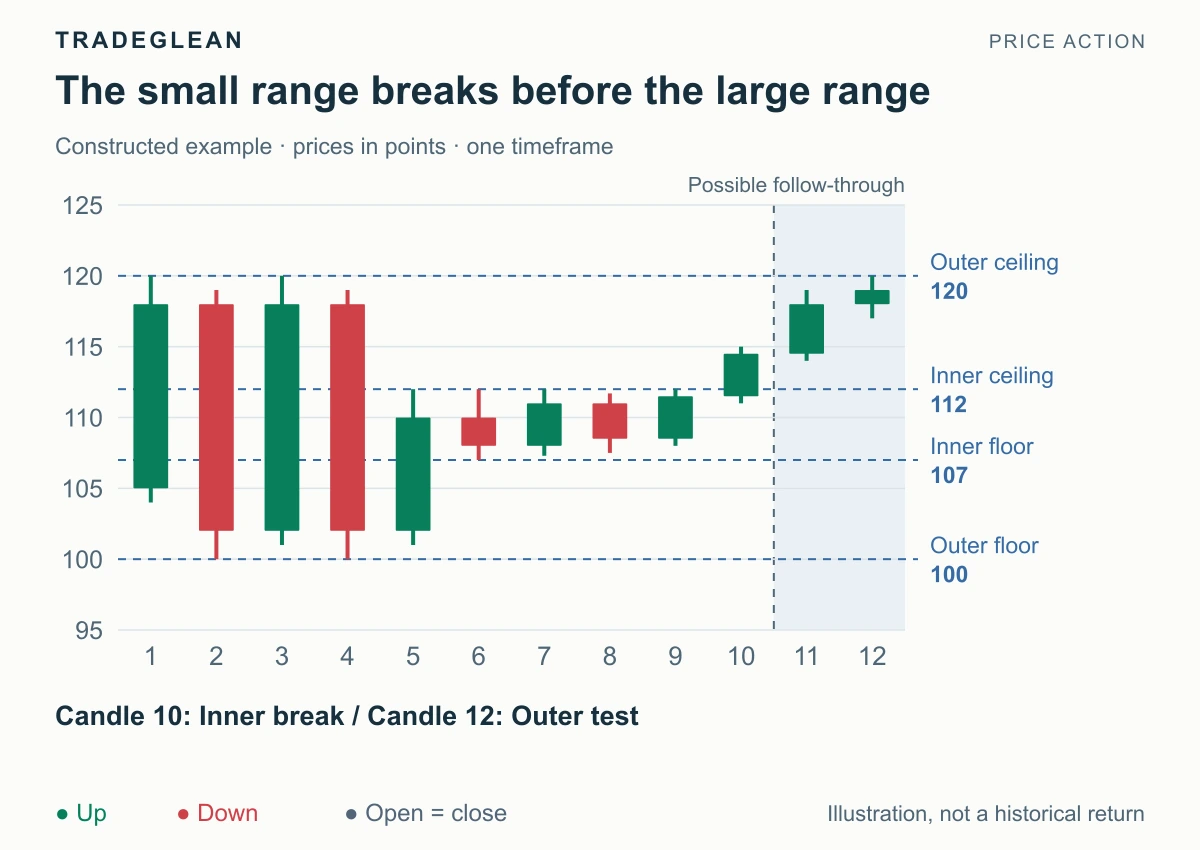
Read article Entry techniques Recognize an inside range break, distinguish inner and outer boundaries, and use a shallow handle without mistaking it for a full range breakout.
Intermediate Sep 13, 2026 4 min read By Adrian
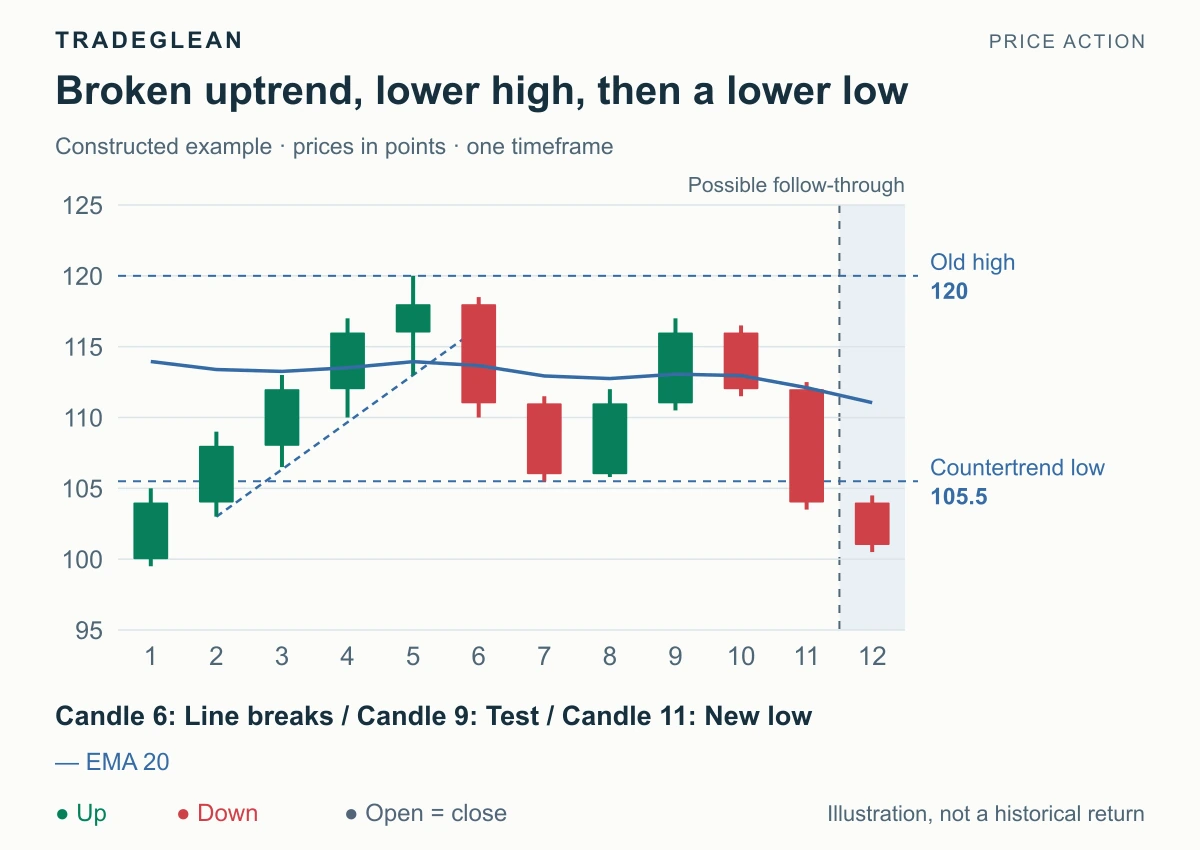
Read article Entry techniques Identify a major trend reversal through a broken trend, a test of the old extreme, and renewed opposite movement, with a precise EMA gap-bar definition.
Intermediate Sep 13, 2026 4 min read By Adrian
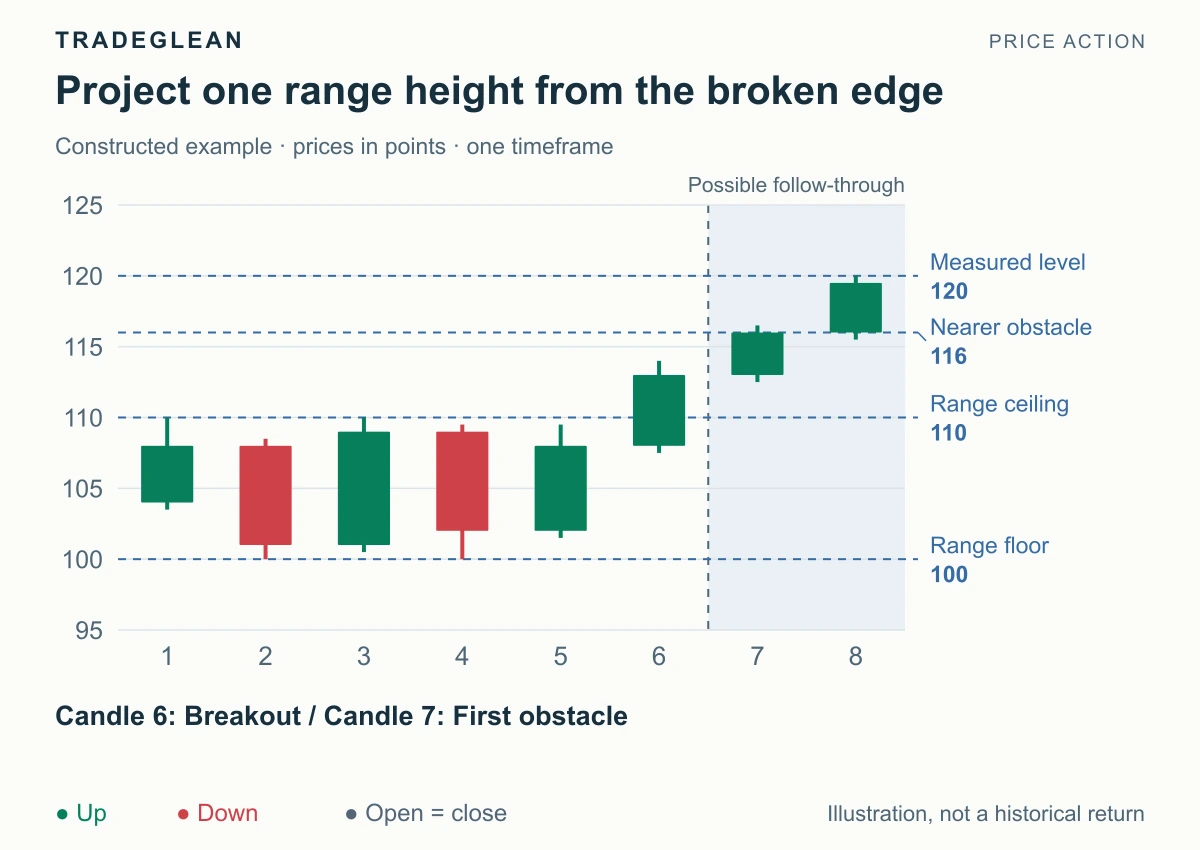
Read article Charts & candlesticks Calculate range-height, equal-leg, and head-height projections with clear starting points, then compare each target with the nearest visible obstacle.
Intermediate Sep 13, 2026 5 min read By Adrian
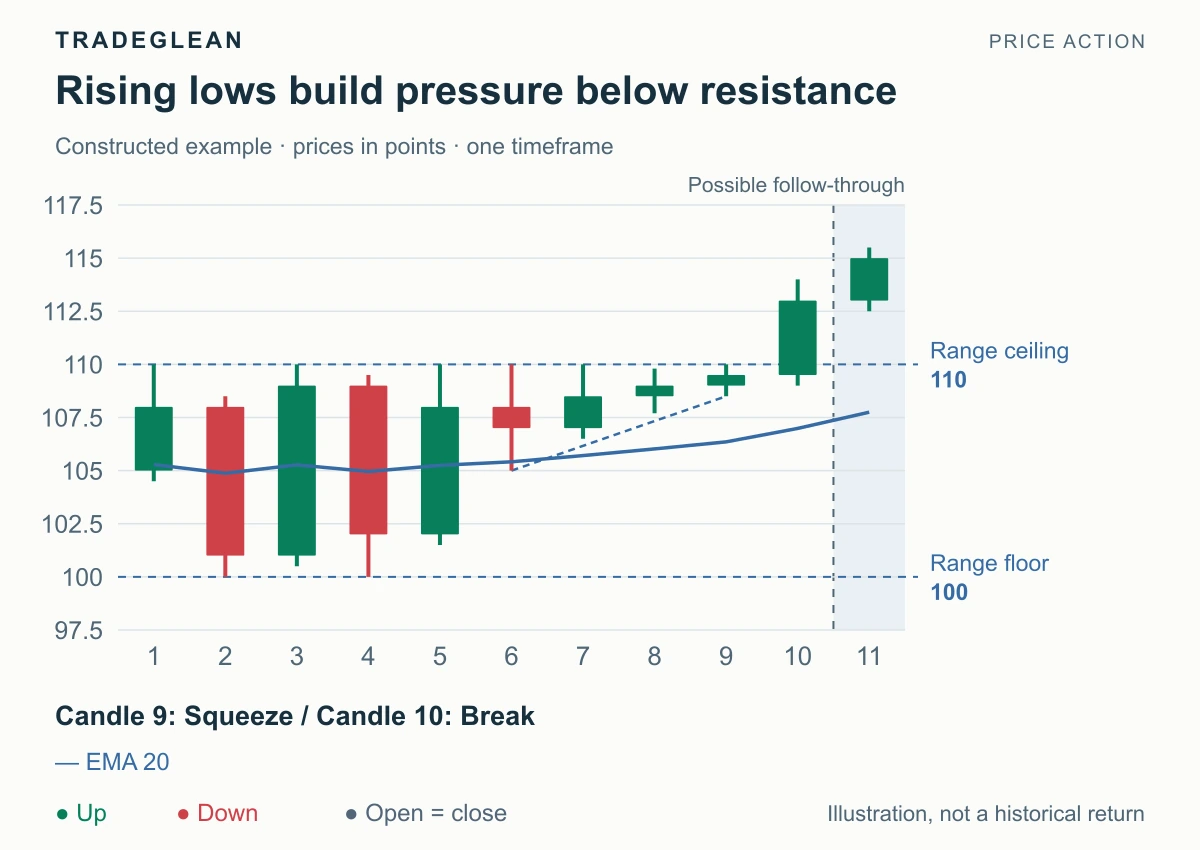
Read article Entry techniques Identify a range-break squeeze, read rising lows or falling highs near the boundary, and separate the directional setup from a confirmed breakout.
Intermediate Sep 13, 2026 5 min read By Adrian
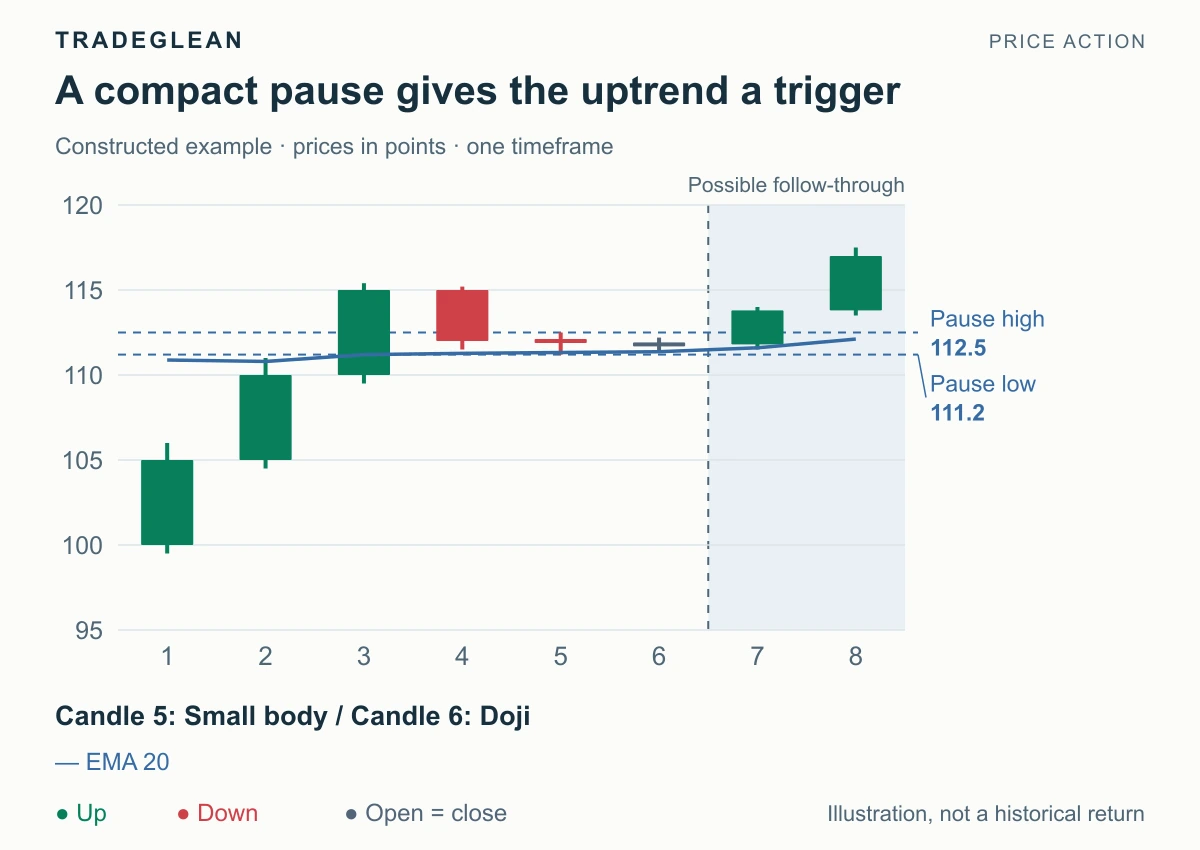
Read article Entry techniques Recognize an orderly pullback in a strong trend, locate a compact pause, and wait for a closing break before treating it as a trend restart.
Beginner Sep 13, 2026 6 min read By Adrian
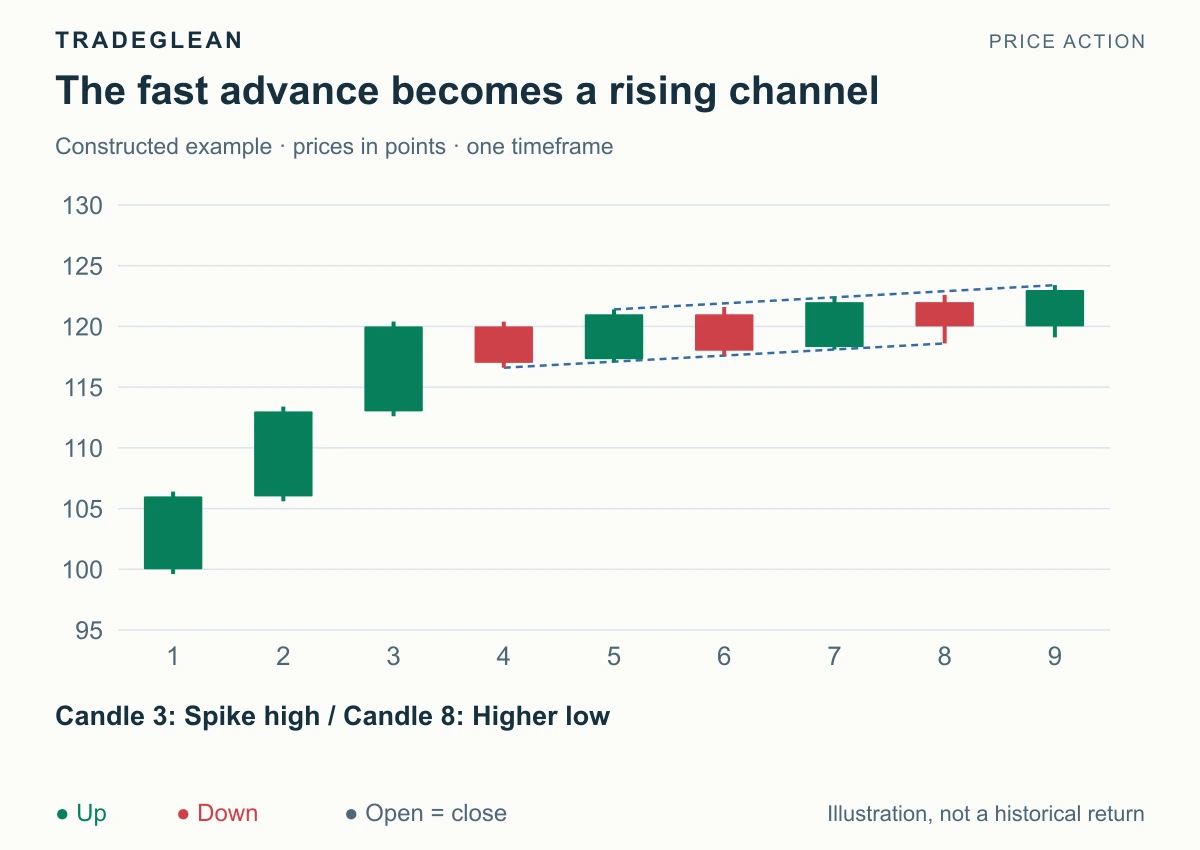
Read article Charts & candlesticks Distinguish a fast impulse followed by a channel from a trend built through successive ranges, and recognize when directional progress starts to weaken.
Beginner Sep 13, 2026 6 min read By Adrian
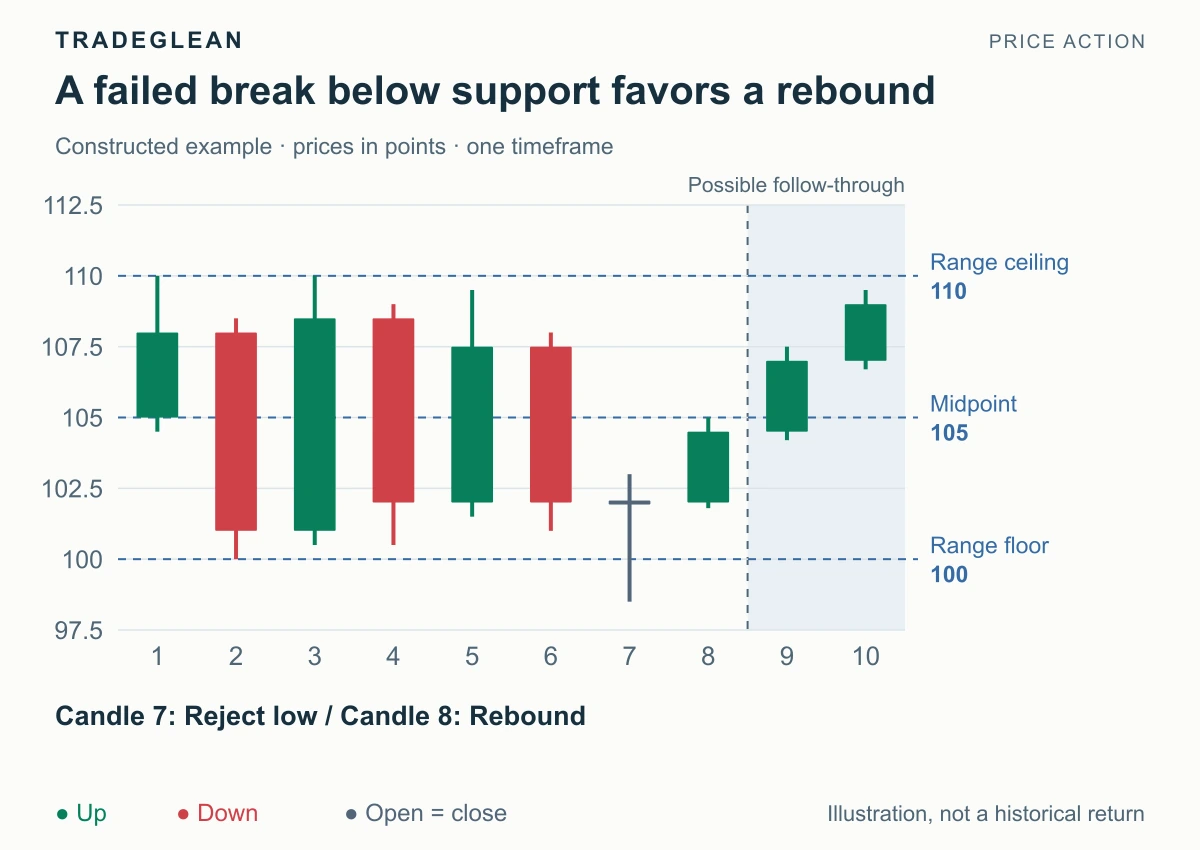
Read article Entry techniques Identify a trading range, distinguish its edges from the middle, and read bullish rejections at the floor or bearish rejections at the ceiling.
Beginner Sep 13, 2026 5 min read By Adrian
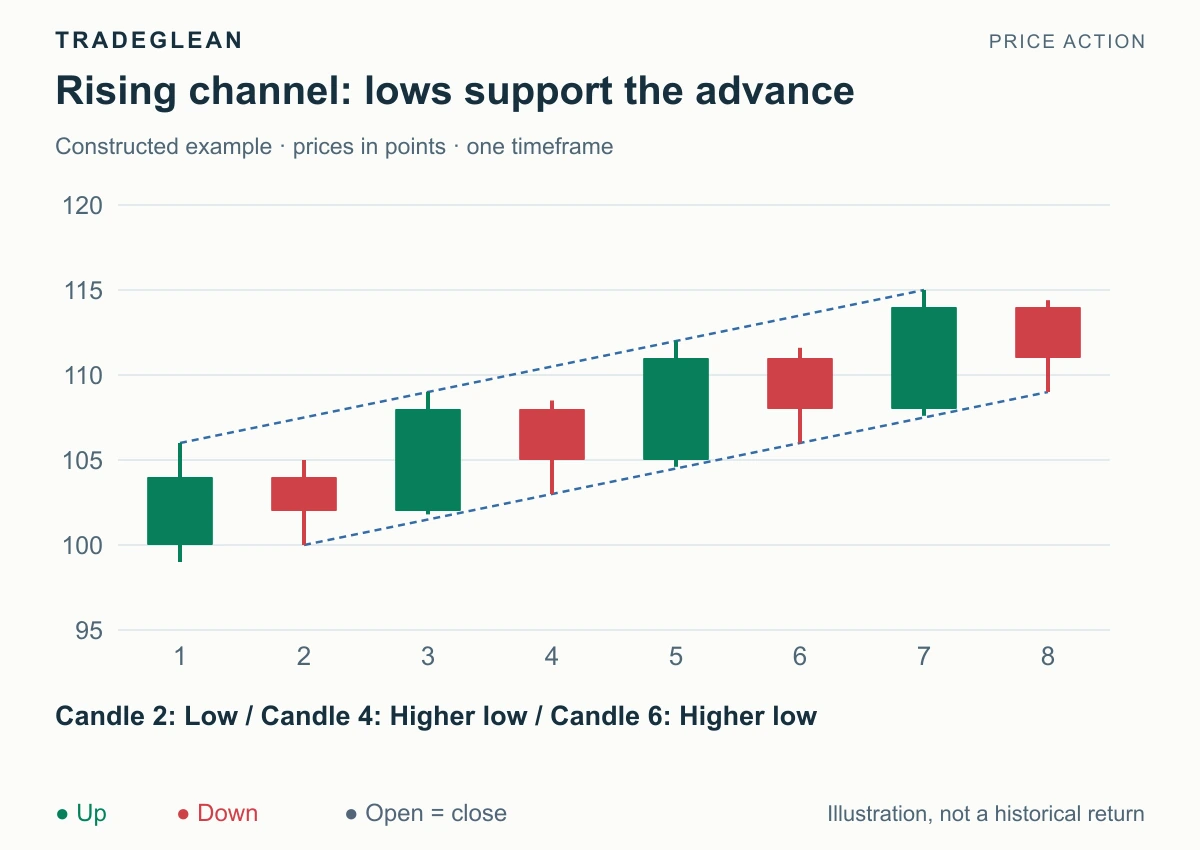
Read article Charts & candlesticks Identify rising and falling channels, distinguish trend lines from channel lines, and use shallow or deep pullbacks to judge the strength of a move.
Beginner Sep 13, 2026 5 min read By Adrian
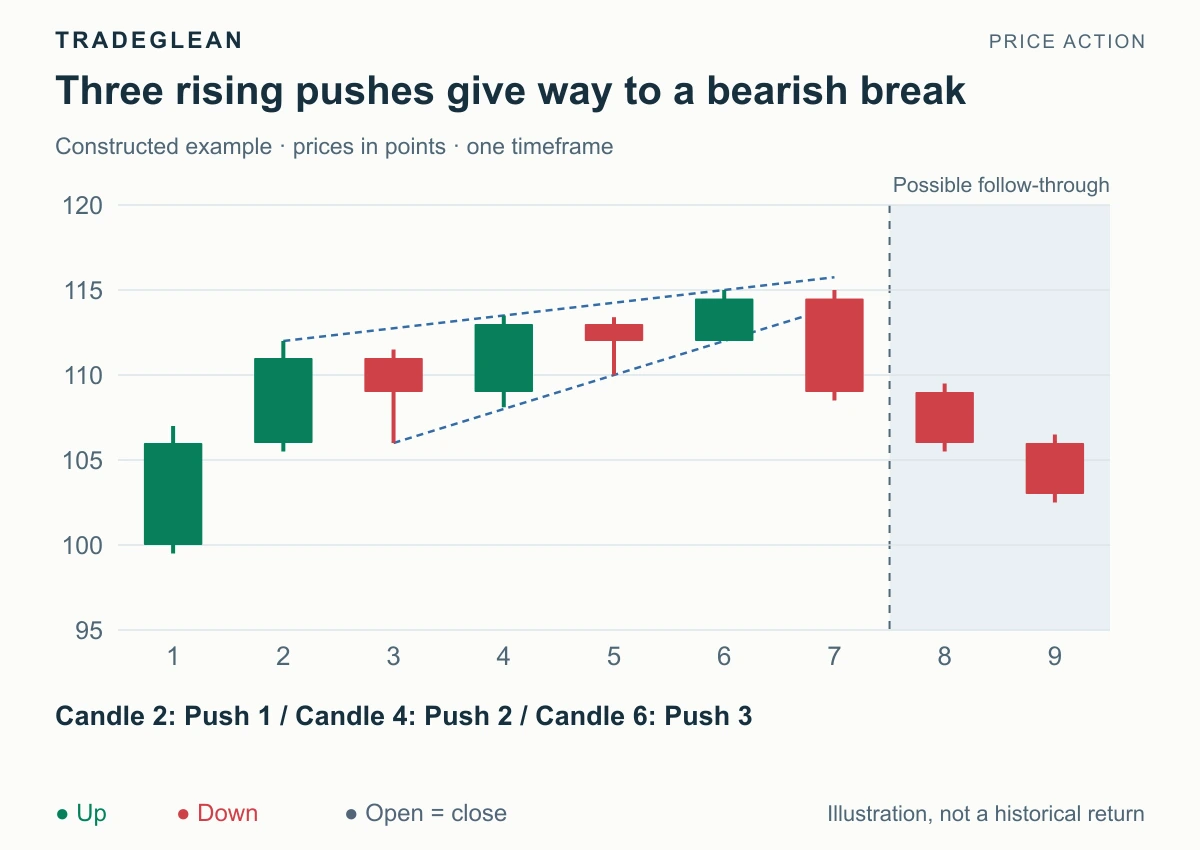
Read article Charts & candlesticks Identify rising and falling wedges, count three pushes with intervening pullbacks, and distinguish a confirmed reversal from a failed reversal attempt.
Intermediate Sep 13, 2026 4 min read By Adrian
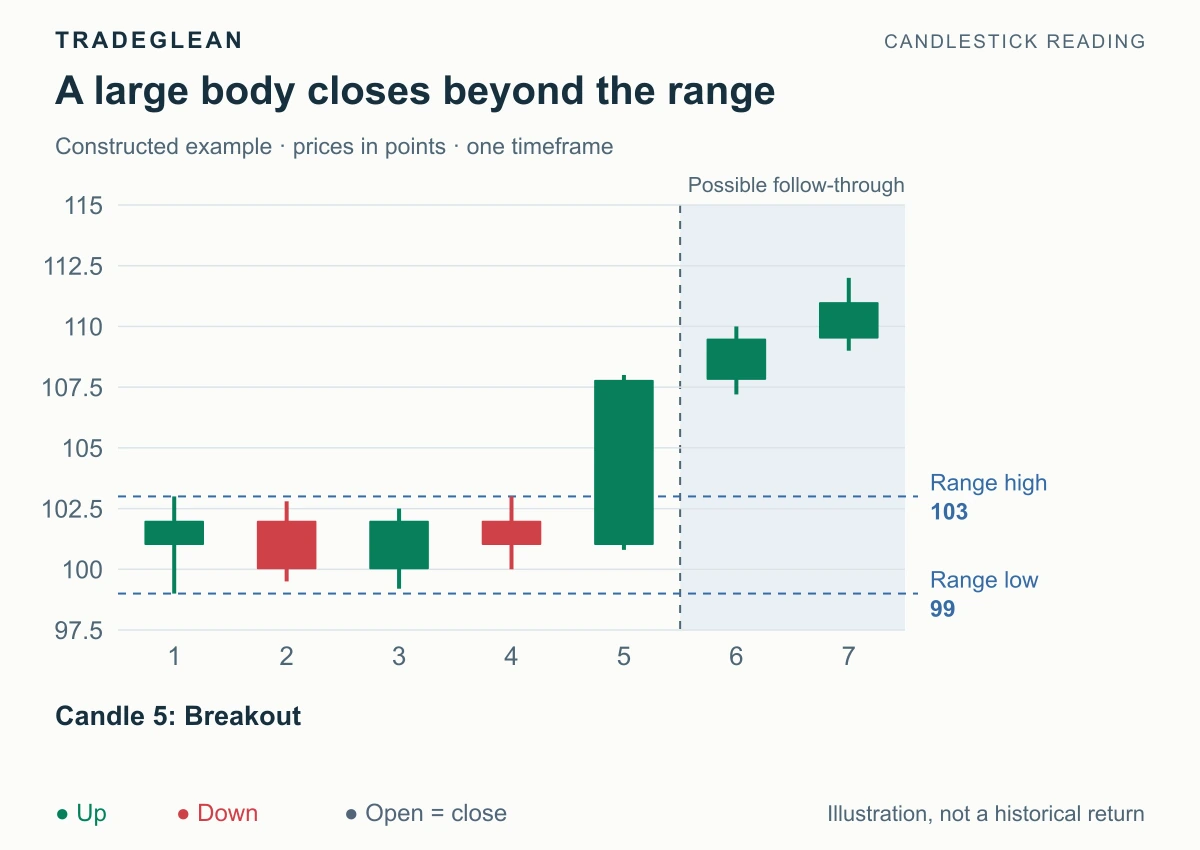
Read article Entry techniques Learn what a breakout candle is, compare bullish and bearish closing breaks, spot wick-only attempts, and separate confirmation from an entry fill.
Beginner Sep 12, 2026 7 min read By Adrian
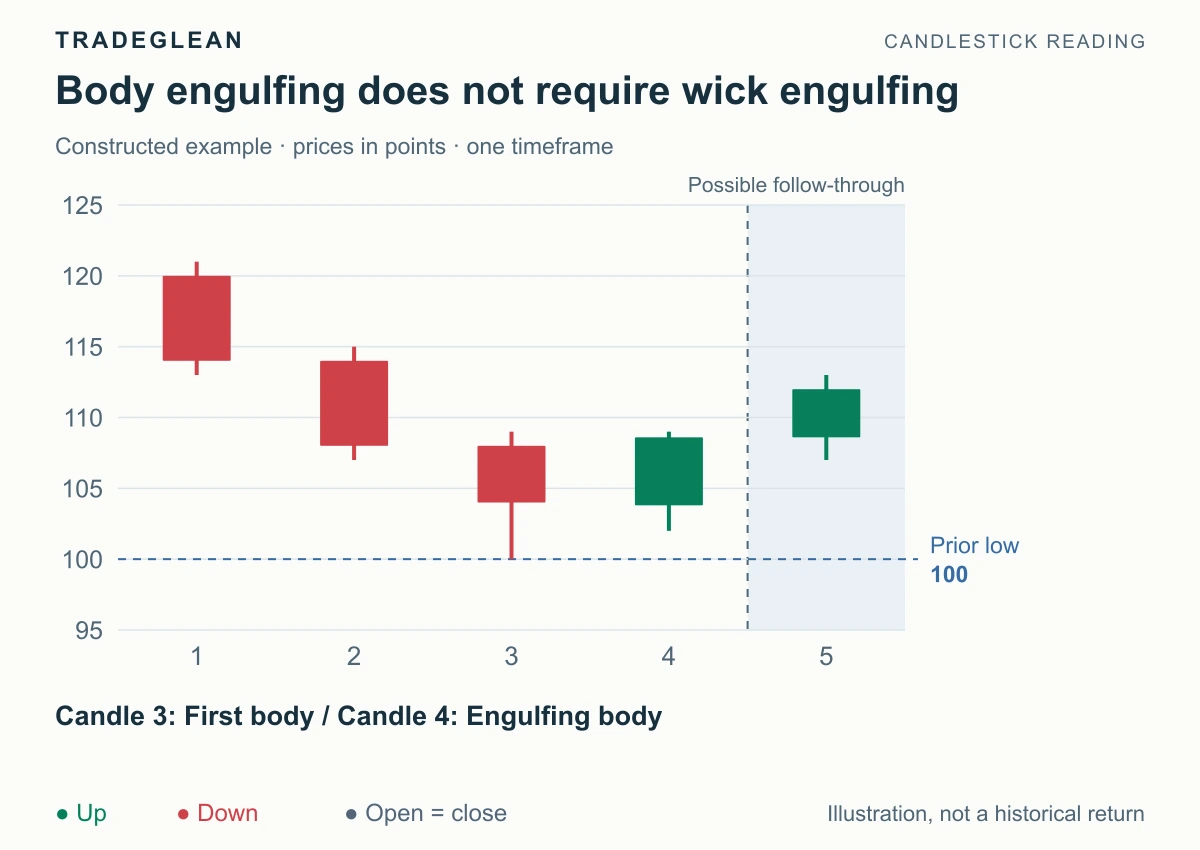
Read article Charts & candlesticks Identify bullish and bearish engulfing patterns by comparing two candle bodies, then use location, confirmation, and invalidation to read the next move.
Beginner Sep 12, 2026 6 min read By Adrian
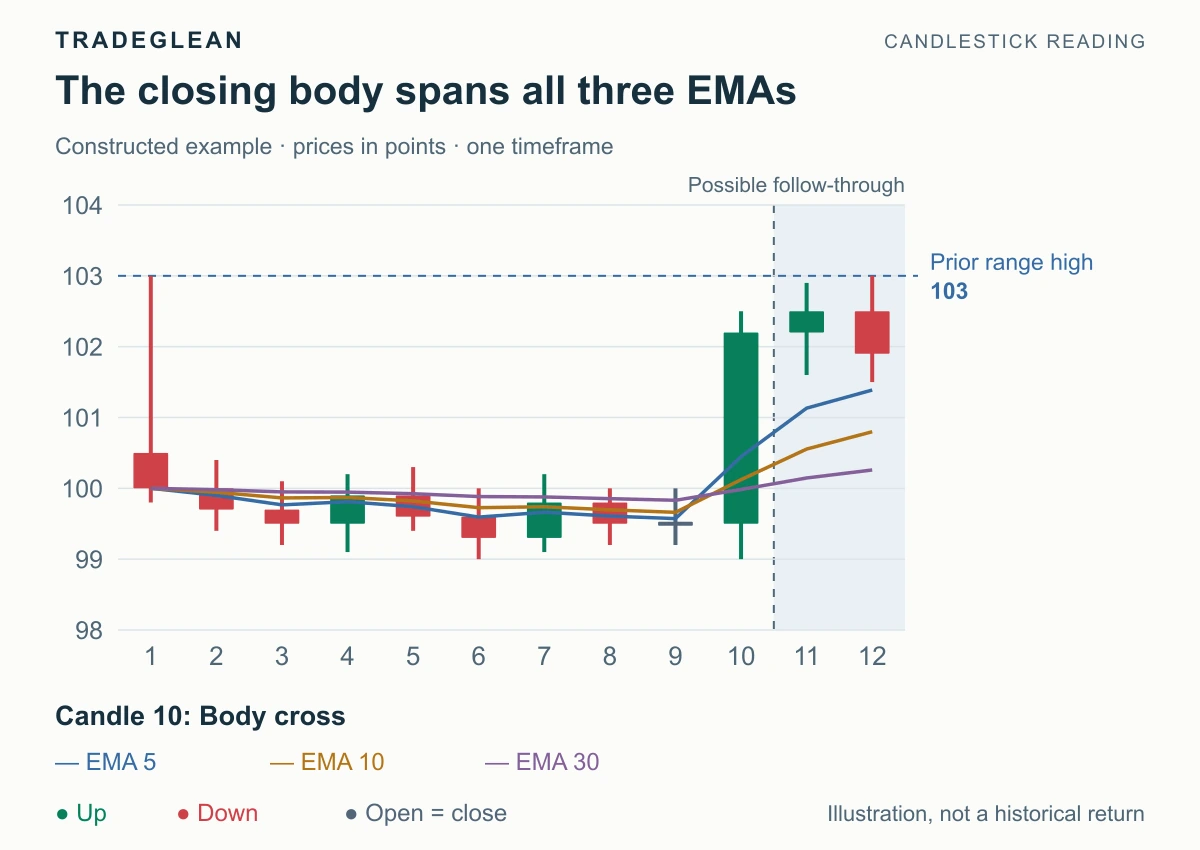
Read article Entry techniques Identify a green body crossing the 5-, 10-, and 30-period EMAs, then use a range break and retest to turn that bullish shift into a practical setup.
Intermediate Sep 12, 2026 6 min read By Adrian
Read article Charts & candlesticks Choose a bullish or bearish bias from the trend, signal location, and completed pattern, then define the trigger and the price that changes your view.
Beginner Sep 12, 2026 6 min read By Adrian
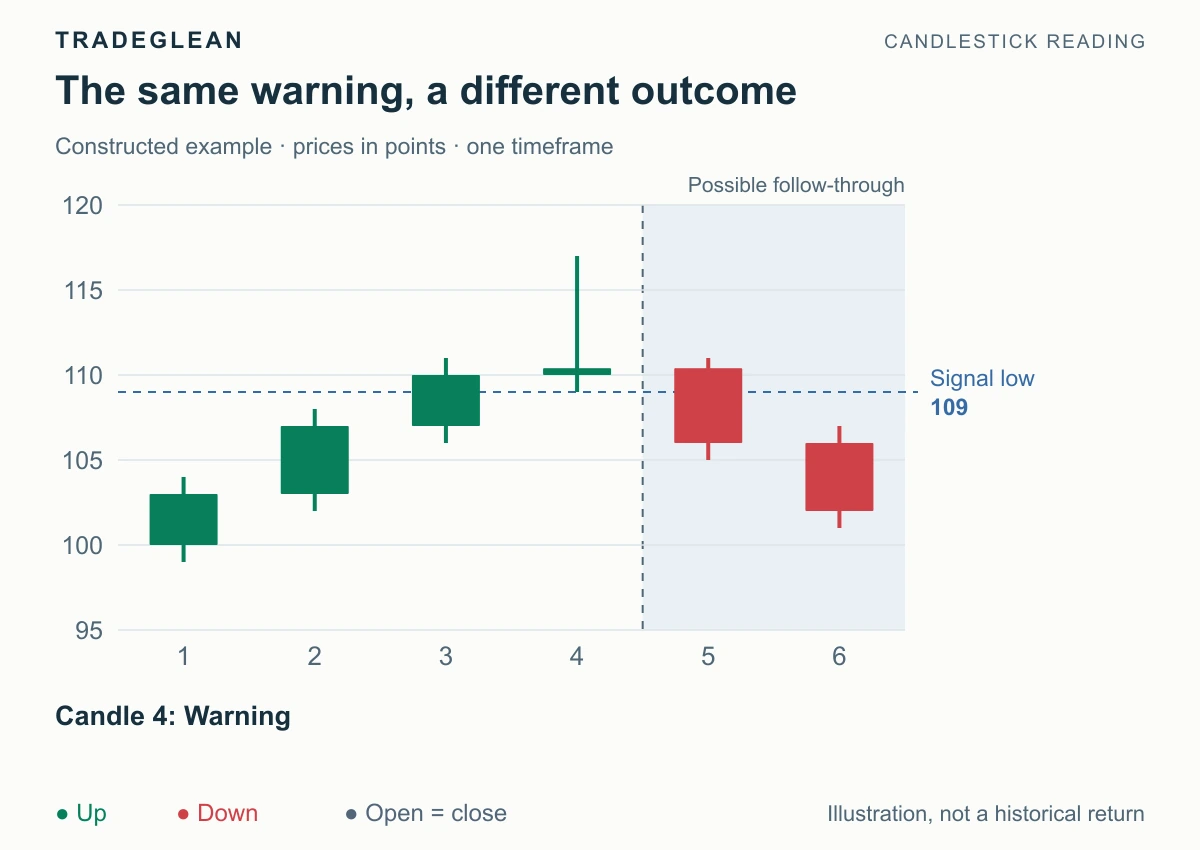
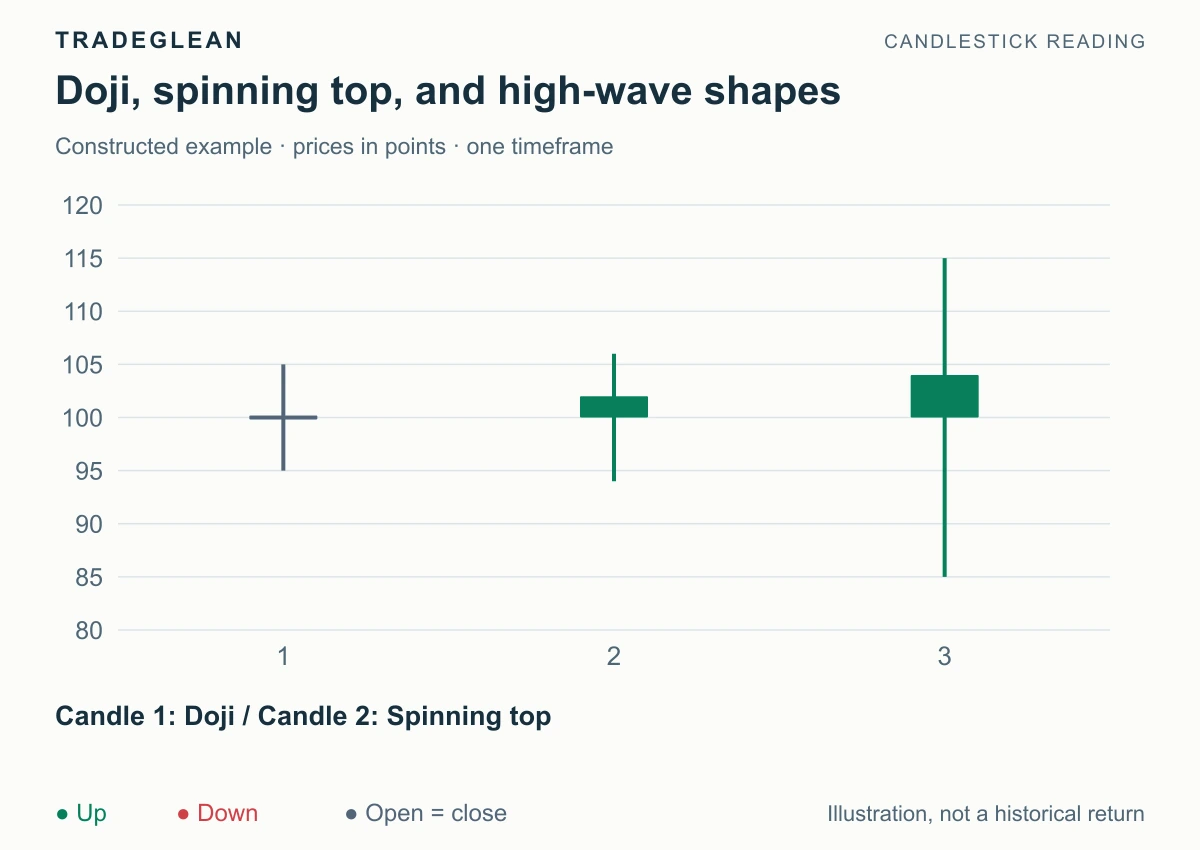
Read article Charts & candlesticks Use doji and spinning tops to read a pause within a trend, identify reversal warnings at key levels, and follow the break that establishes direction.
Beginner Sep 12, 2026 5 min read By Adrian
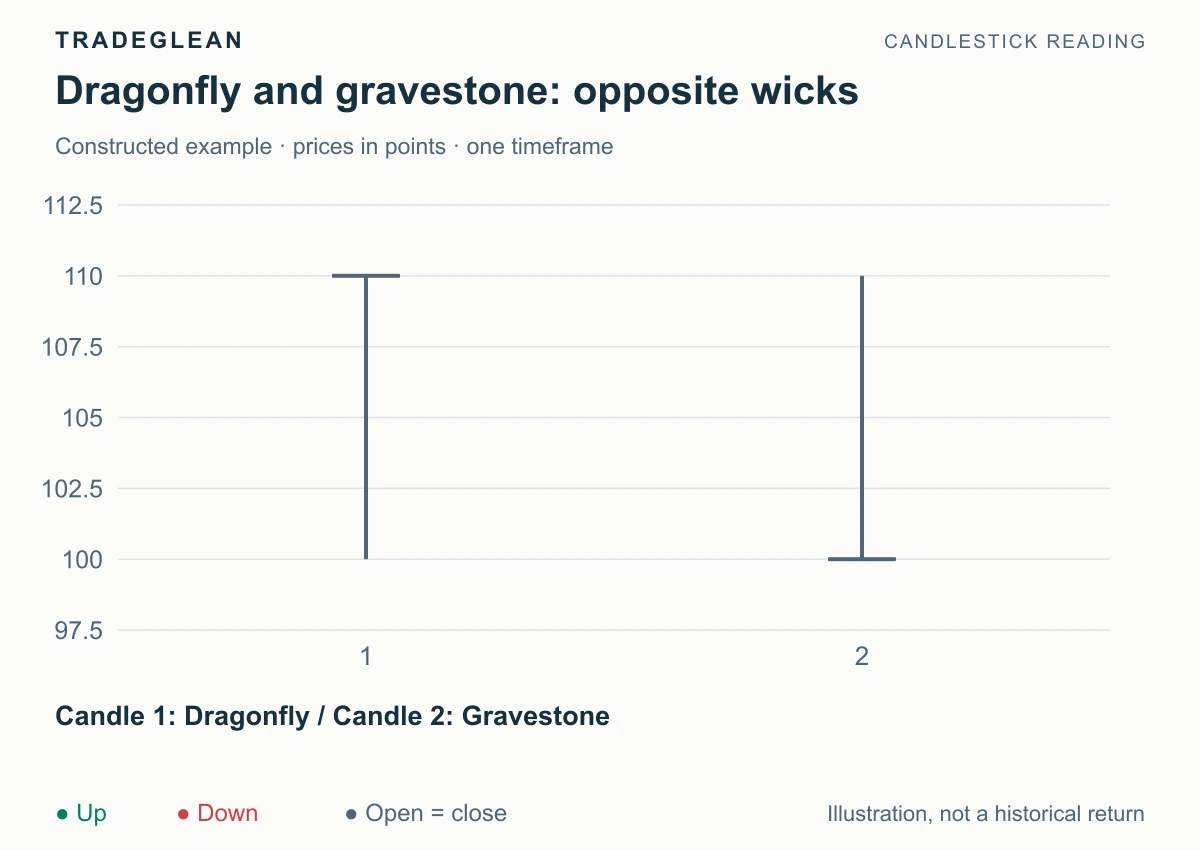
Read article Charts & candlesticks Recognize dragonfly and gravestone doji from their wicks and closing prices, then apply their bullish and bearish readings at support and resistance.
Beginner Sep 12, 2026 5 min read By Adrian
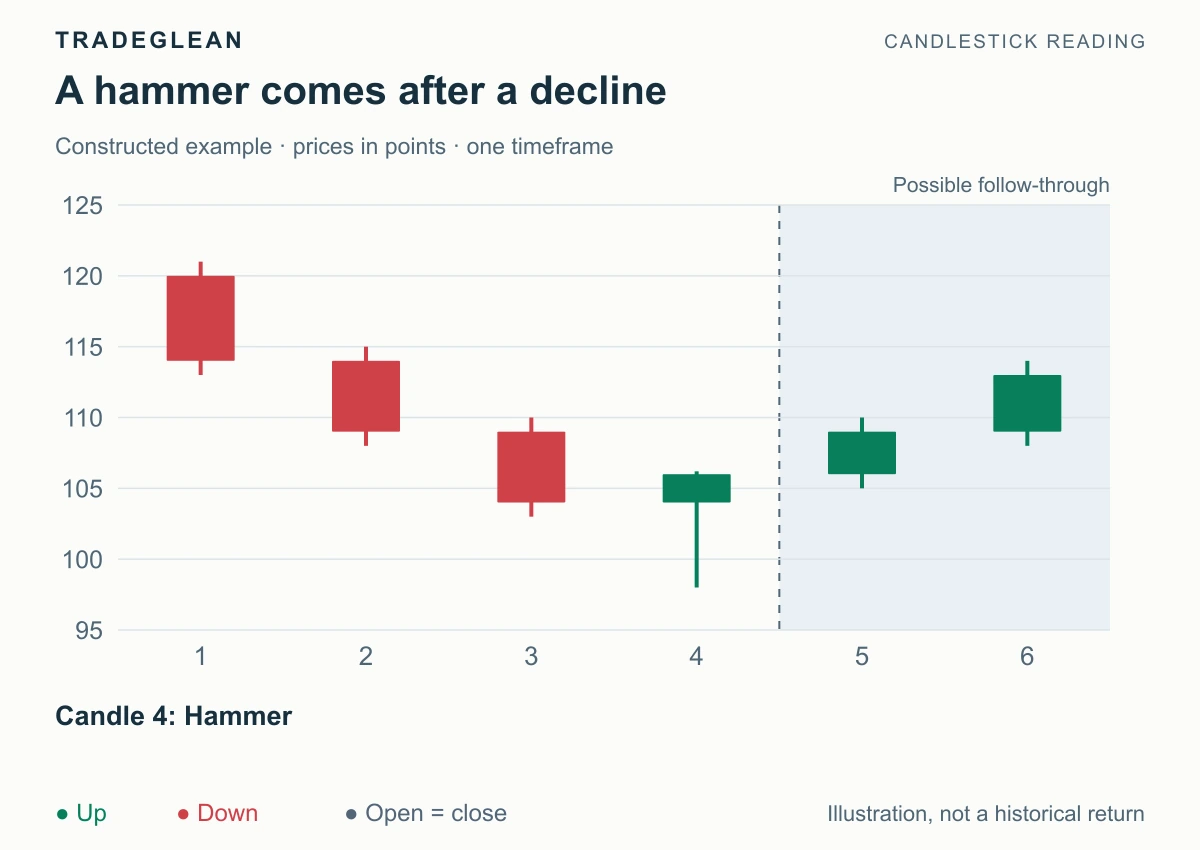
Read article Charts & candlesticks Recognize a hammer or hanging man from its body, lower wick, and trend position, then learn the bullish and bearish triggers for each setup.
Beginner Sep 12, 2026 5 min read By Adrian
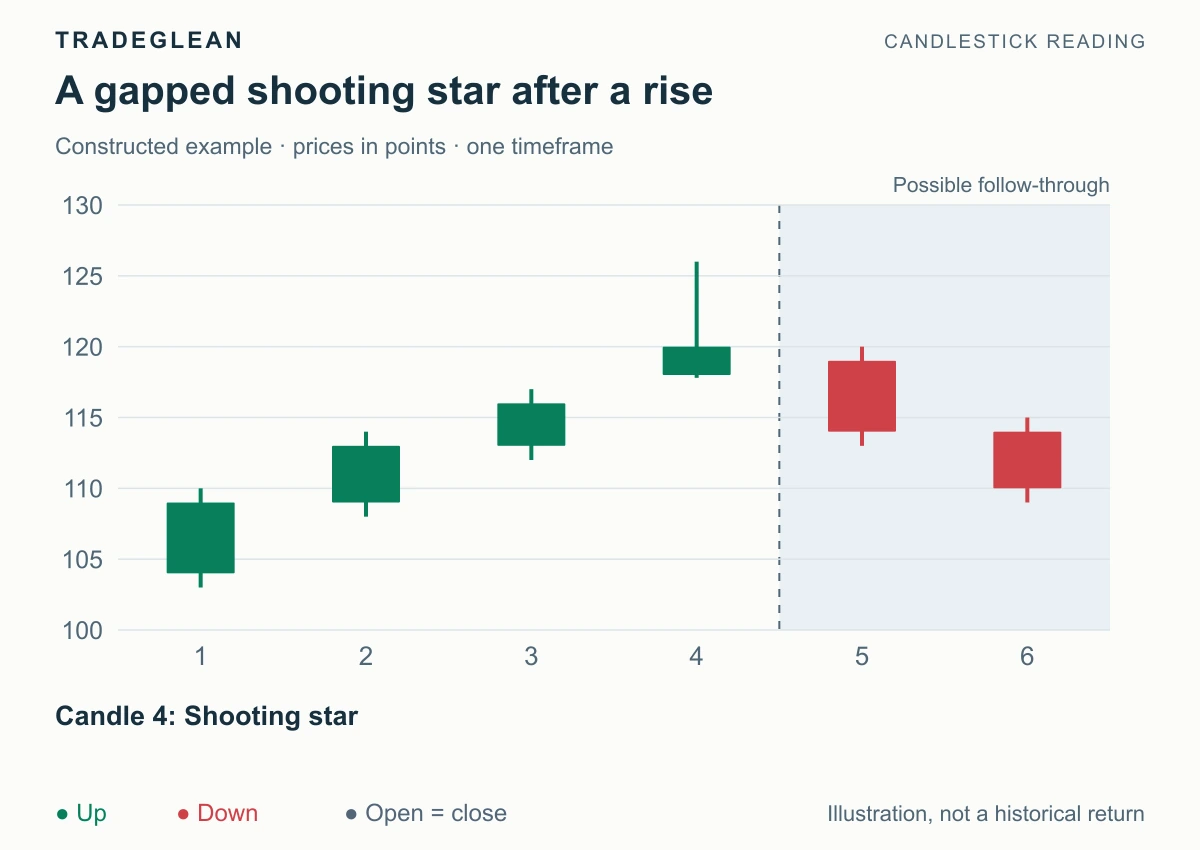
Read article Charts & candlesticks Identify long-upper-wick candles and distinguish a bearish shooting star at resistance from a bullish inverted-hammer setup after a decline.
Beginner Sep 12, 2026 5 min read By Adrian
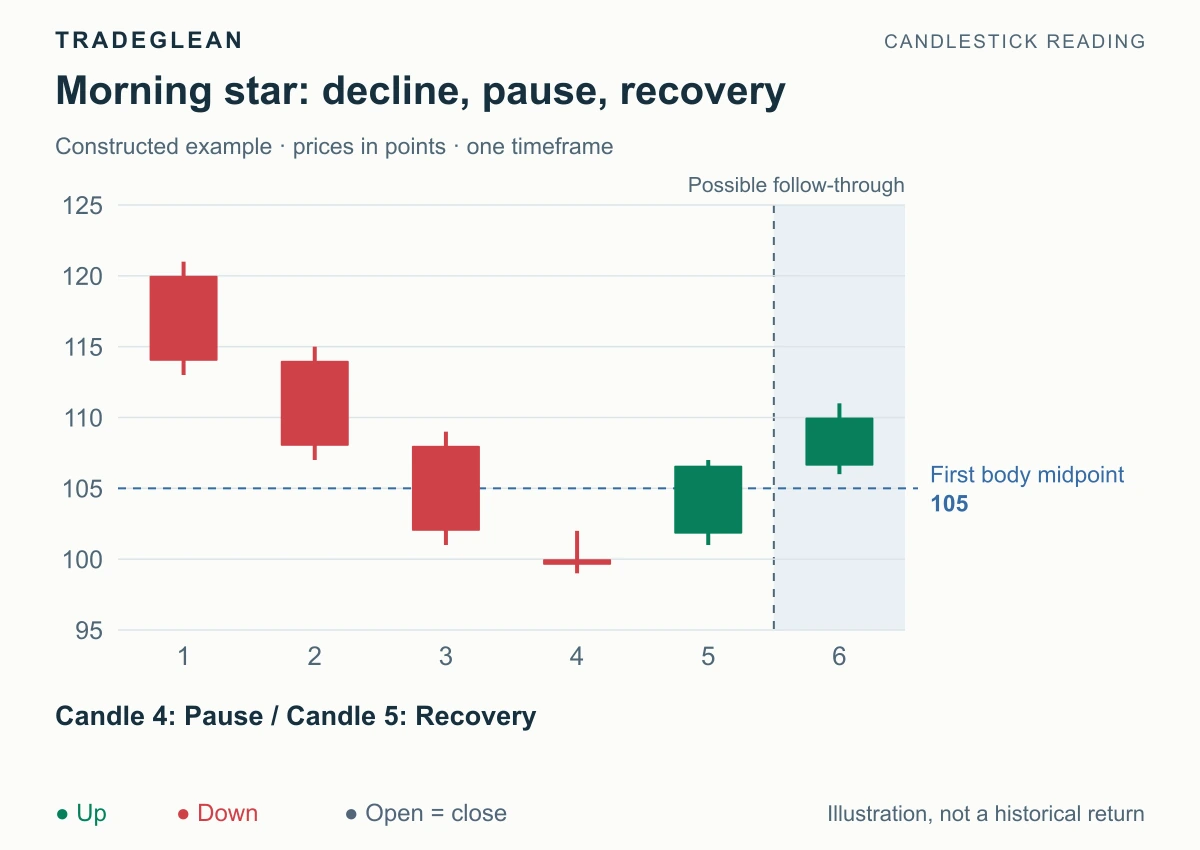
Read article Charts & candlesticks Recognize the three candles of a morning or evening star, check the final close, and apply the bullish or bearish reversal method.
Beginner Sep 12, 2026 5 min read By Adrian
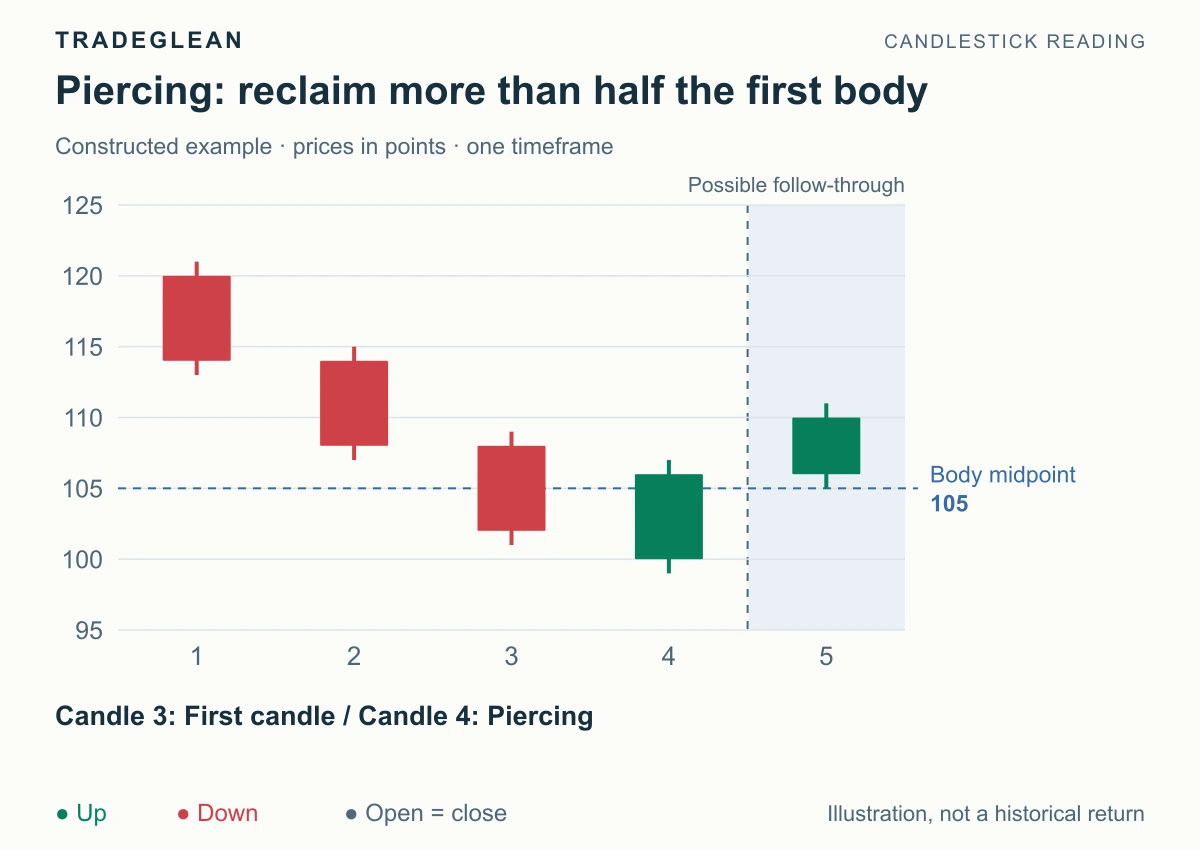
Read article Charts & candlesticks Recognize these two-candle reversal signals using the body midpoint, then apply a bullish piercing pattern or bearish dark cloud cover at the right level.
Intermediate Sep 12, 2026 6 min read By Adrian
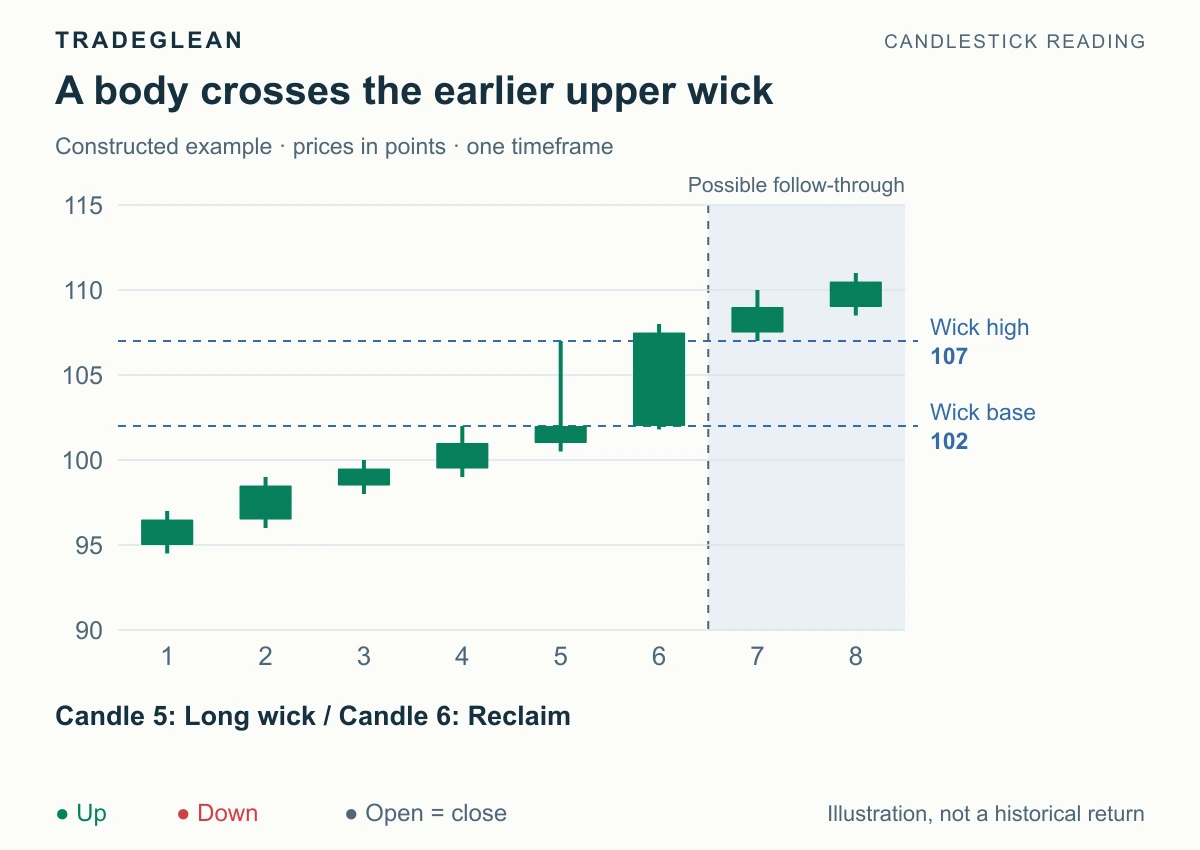
Read article Charts & candlesticks Identify a candle body reclaiming an earlier wick, distinguish a full reclaim from a brief touch, and use the completed pair to read trend continuation.
Intermediate Sep 12, 2026 6 min read By Adrian
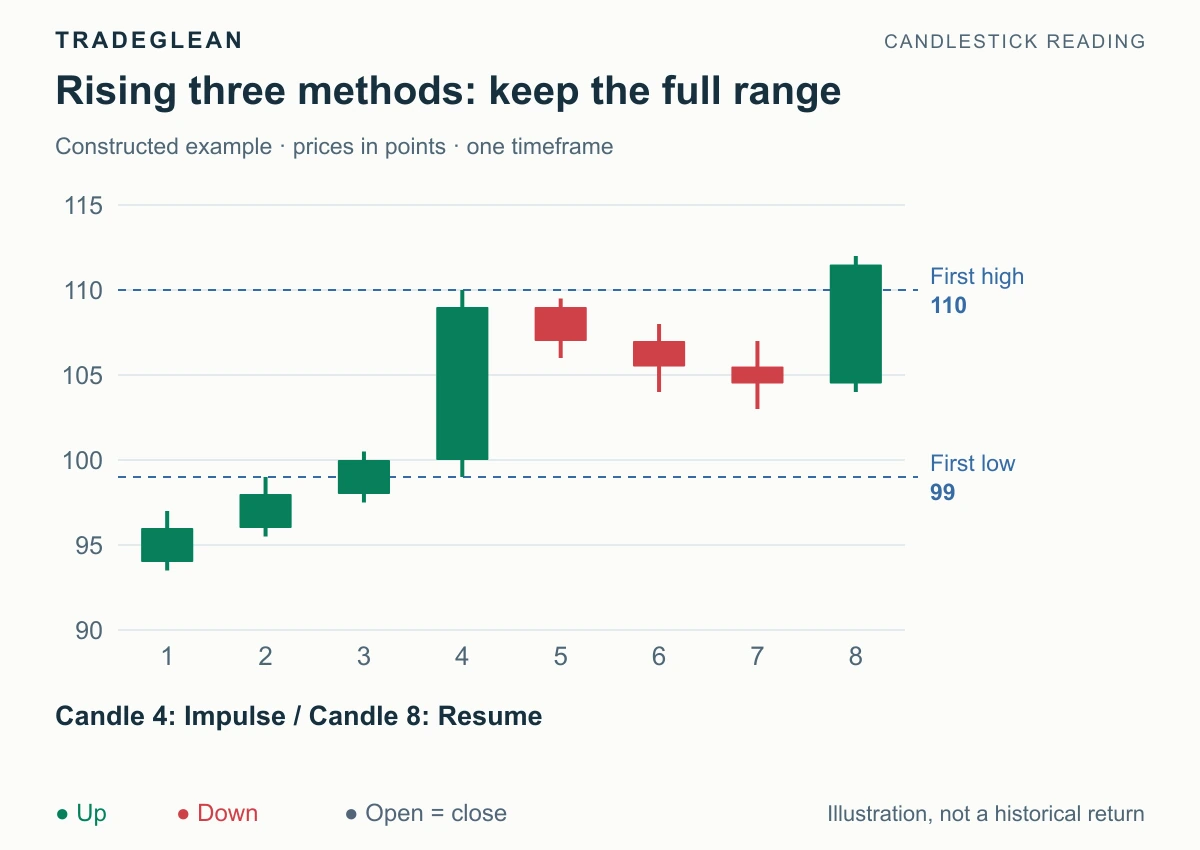
Read article Charts & candlesticks Identify the five candles of rising and falling three methods, check the pullback boundaries, and use the final close to read bullish or bearish continuation.
Intermediate Sep 12, 2026 5 min read By Adrian
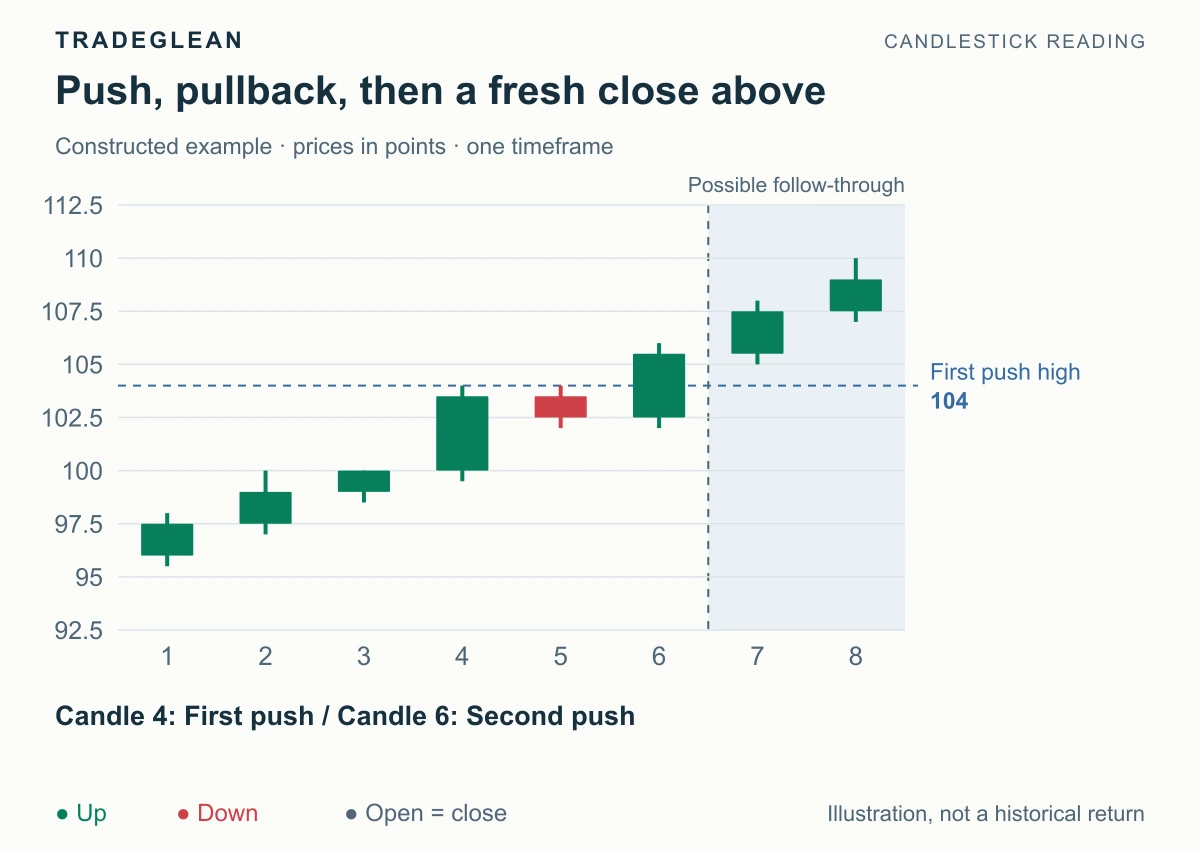
Read article Charts & candlesticks Recognize a push, contained pullback, and renewed push, then use green-red-green or red-green-red sequences to read bullish or bearish continuation.
Intermediate Sep 12, 2026 5 min read By Adrian
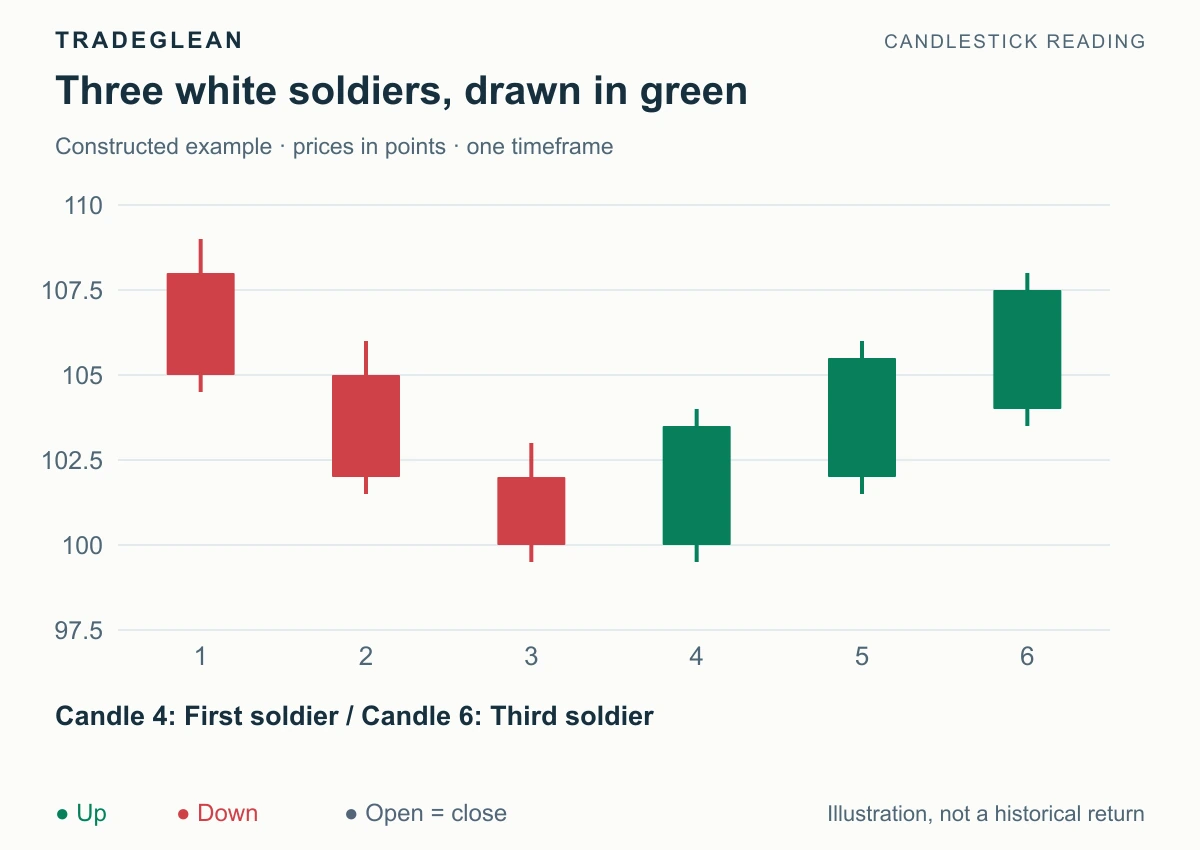
Read article Charts & candlesticks Identify three white soldiers and three black crows from their bodies, opens, and closes, then use the sequence to read bullish or bearish pressure.
Beginner Sep 12, 2026 5 min read By Adrian
Read article