Entry techniques
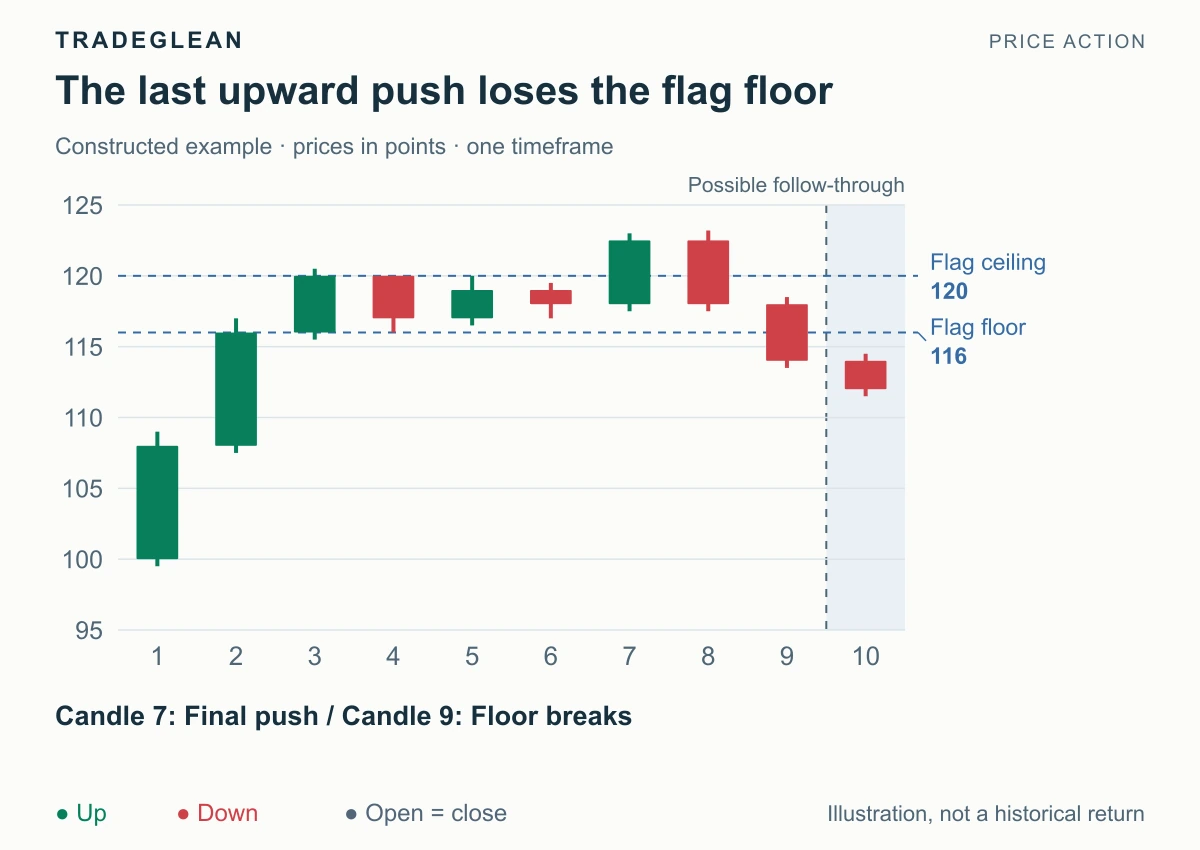
Final Flags: Identify the Failed Last Push
Recognize a final-flag reversal through a pause, one more trend extension, and a confirmed return through the flag's opposite boundary.
Read articleLearn the rules behind pullbacks, breakouts, and reversals, including when a setup fails.
Define the conditions, the entry trigger, and where the idea fails. Start with understand a trend-pullback method.
Browse all subjects →10 articles
Recognize a final-flag reversal through a pause, one more trend extension, and a confirmed return through the flag's opposite boundary.
Read article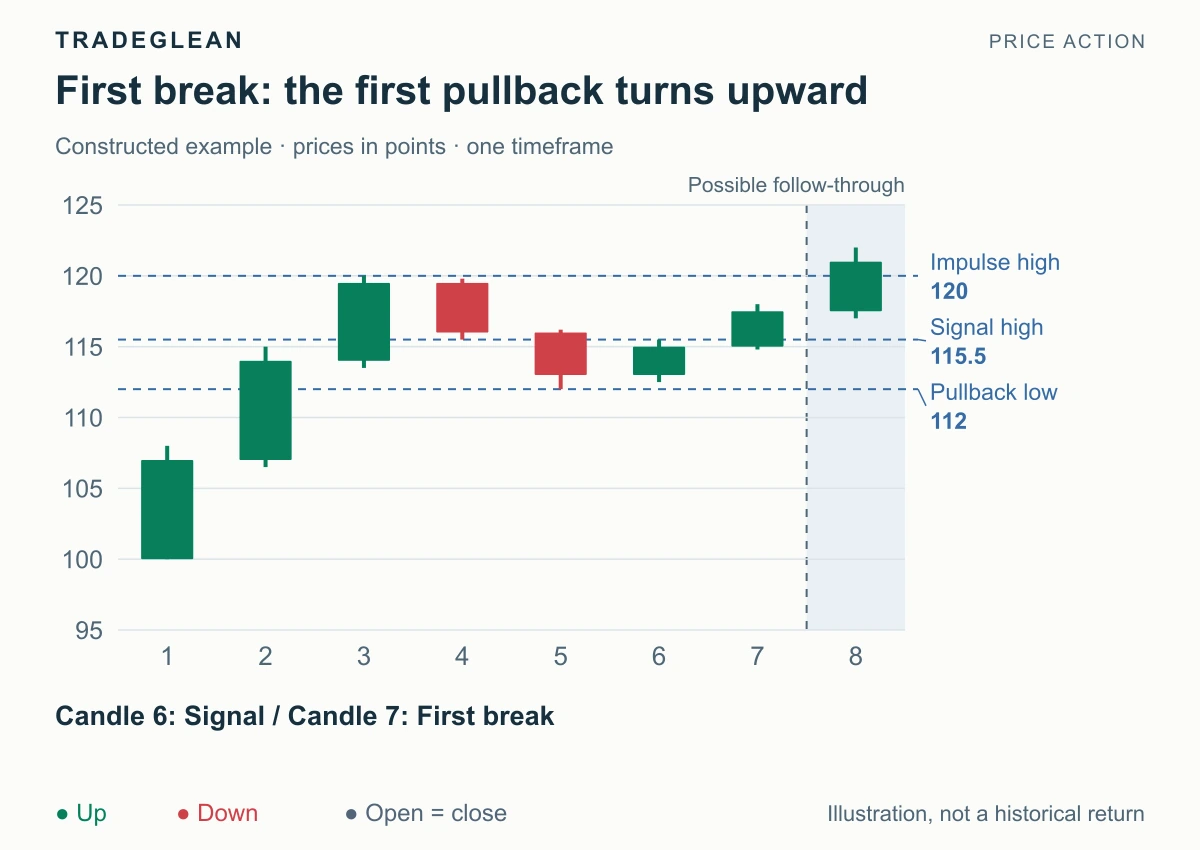
Distinguish FB and SB pullback setups, identify first and second trend-recovery attempts, and compare their confirmation, location, and failure boundaries.
Read article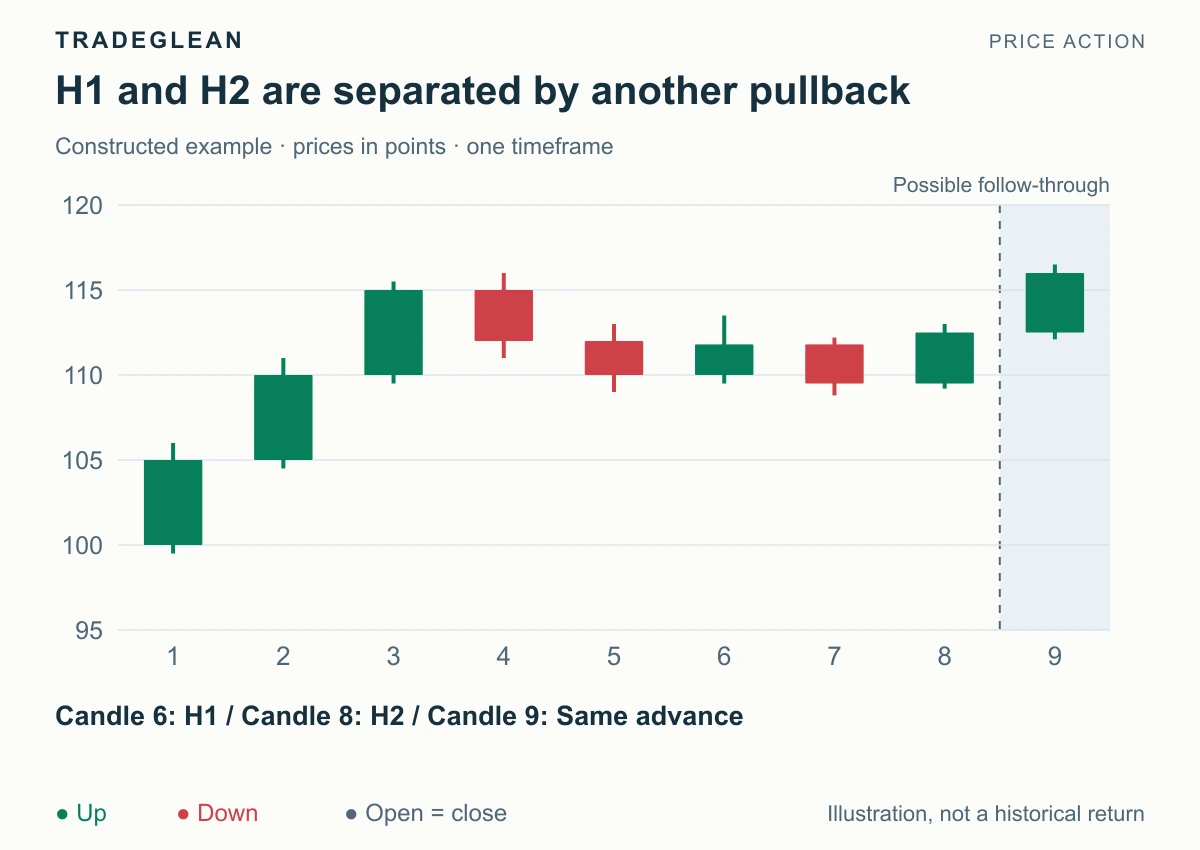
Learn to count first and second attempts to resume a trend, distinguish a trigger from a swing high, and reset the count when the pullback ends.
Read article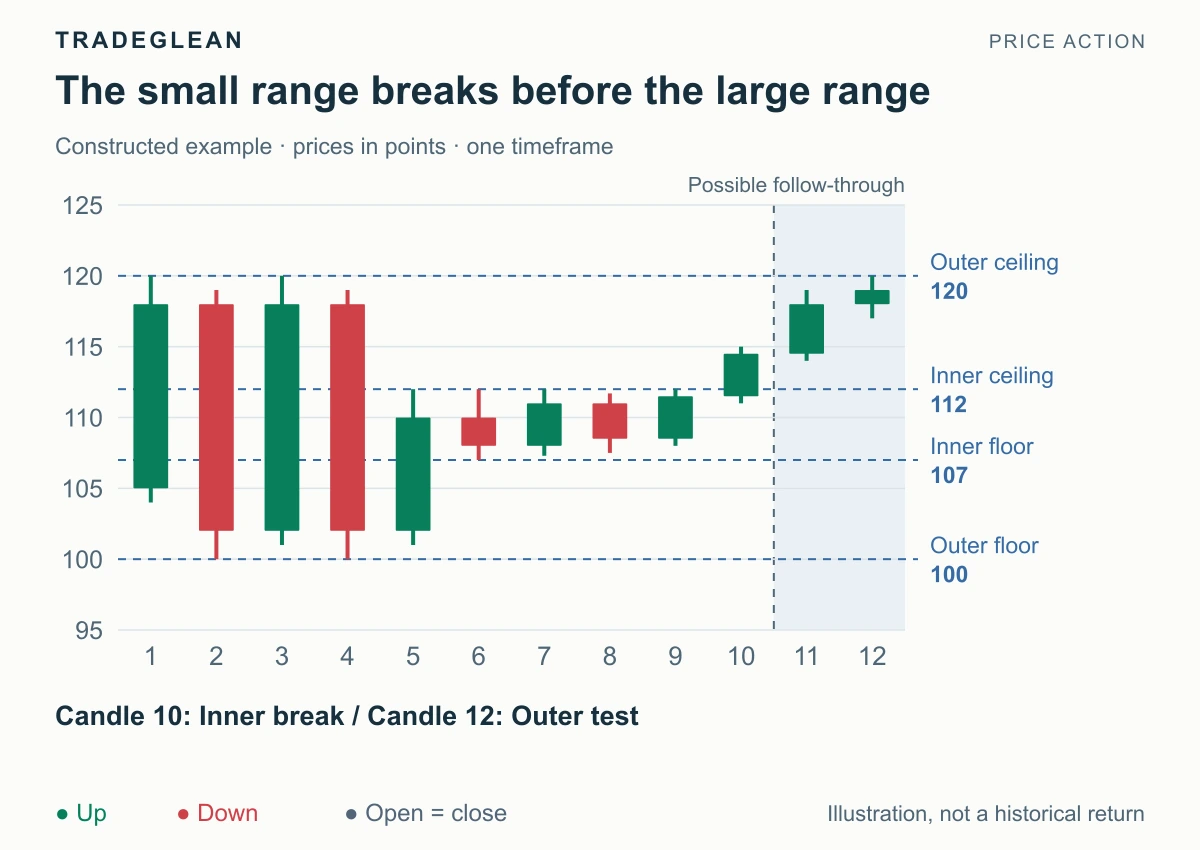
Recognize an inside range break, distinguish inner and outer boundaries, and use a shallow handle without mistaking it for a full range breakout.
Read article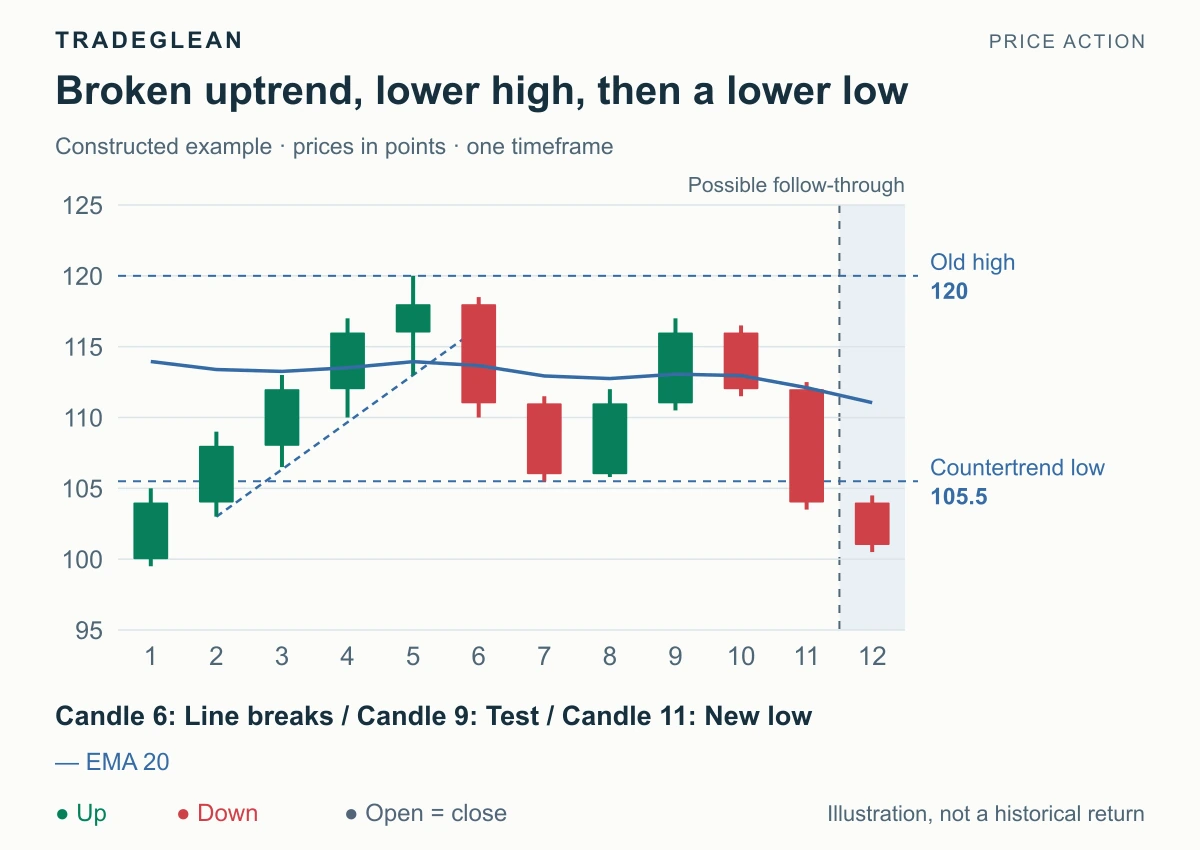
Identify a major trend reversal through a broken trend, a test of the old extreme, and renewed opposite movement, with a precise EMA gap-bar definition.
Read article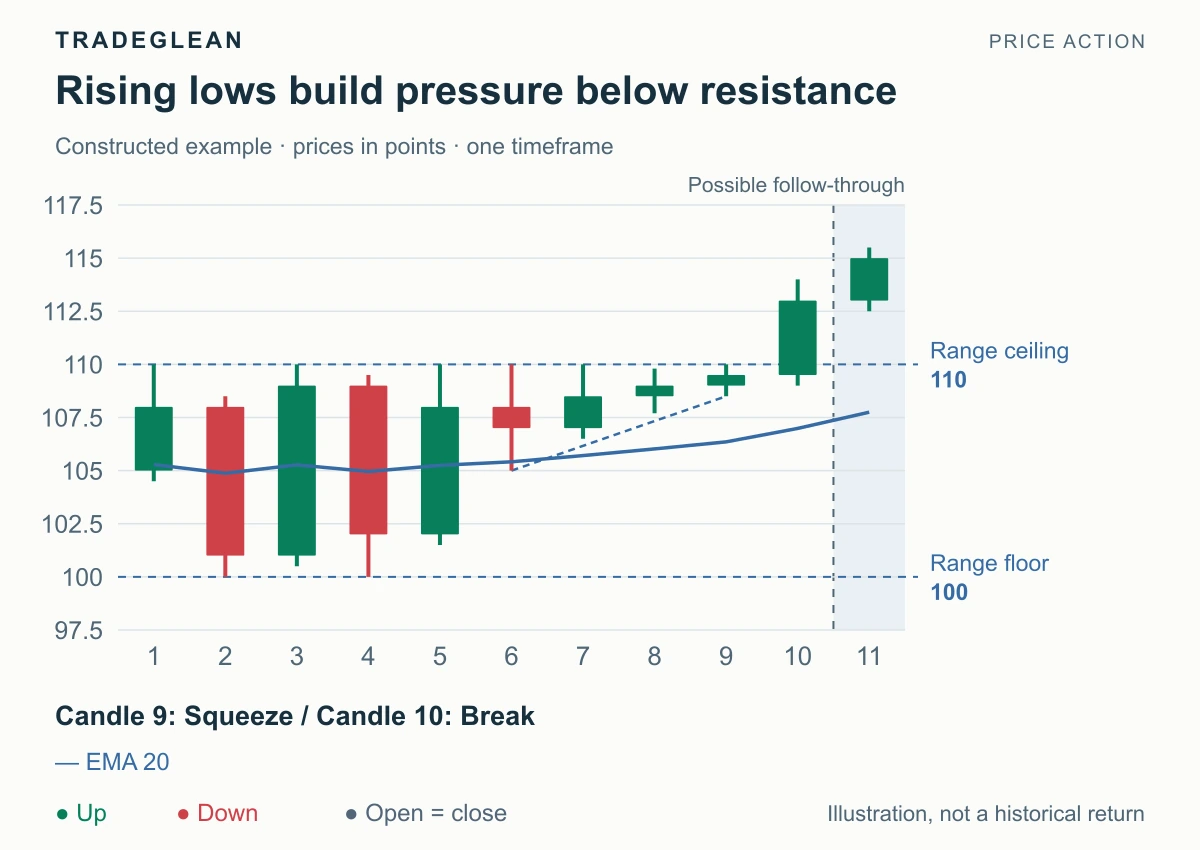
Identify a range-break squeeze, read rising lows or falling highs near the boundary, and separate the directional setup from a confirmed breakout.
Read article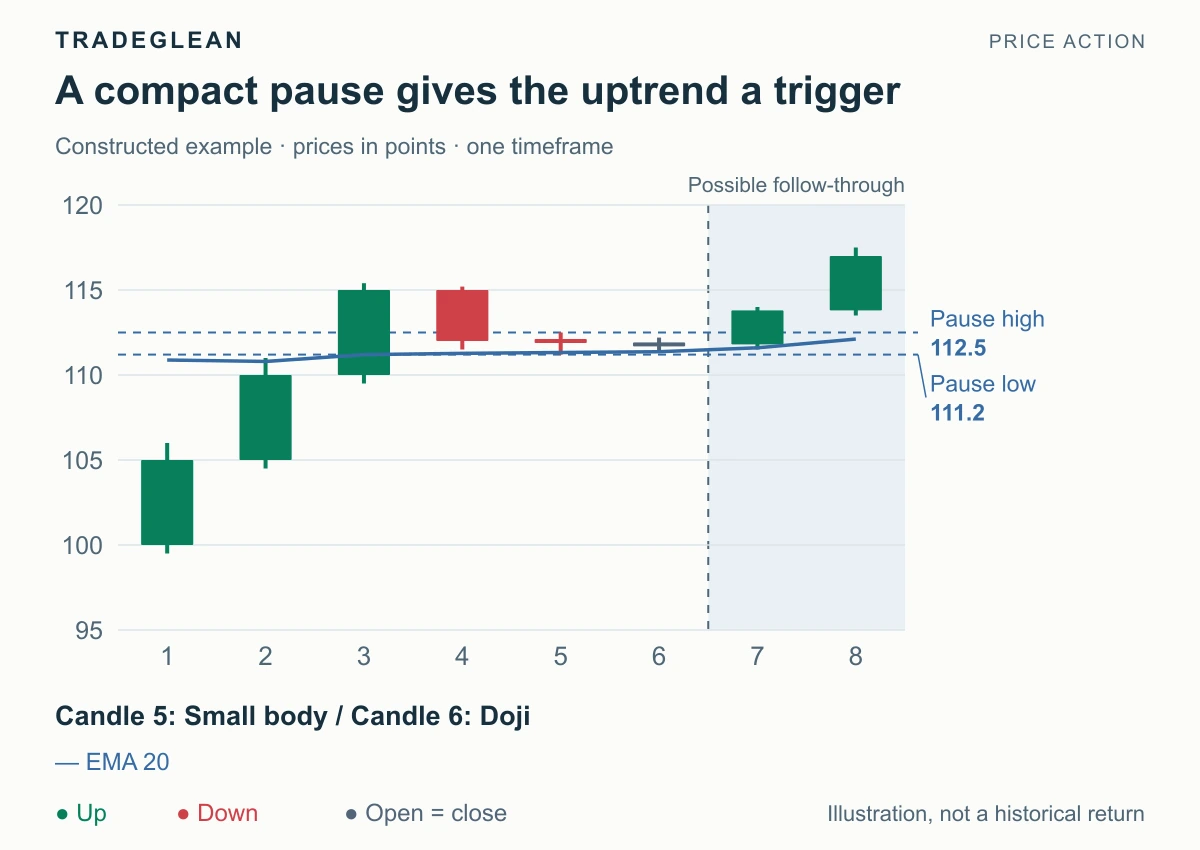
Recognize an orderly pullback in a strong trend, locate a compact pause, and wait for a closing break before treating it as a trend restart.
Read article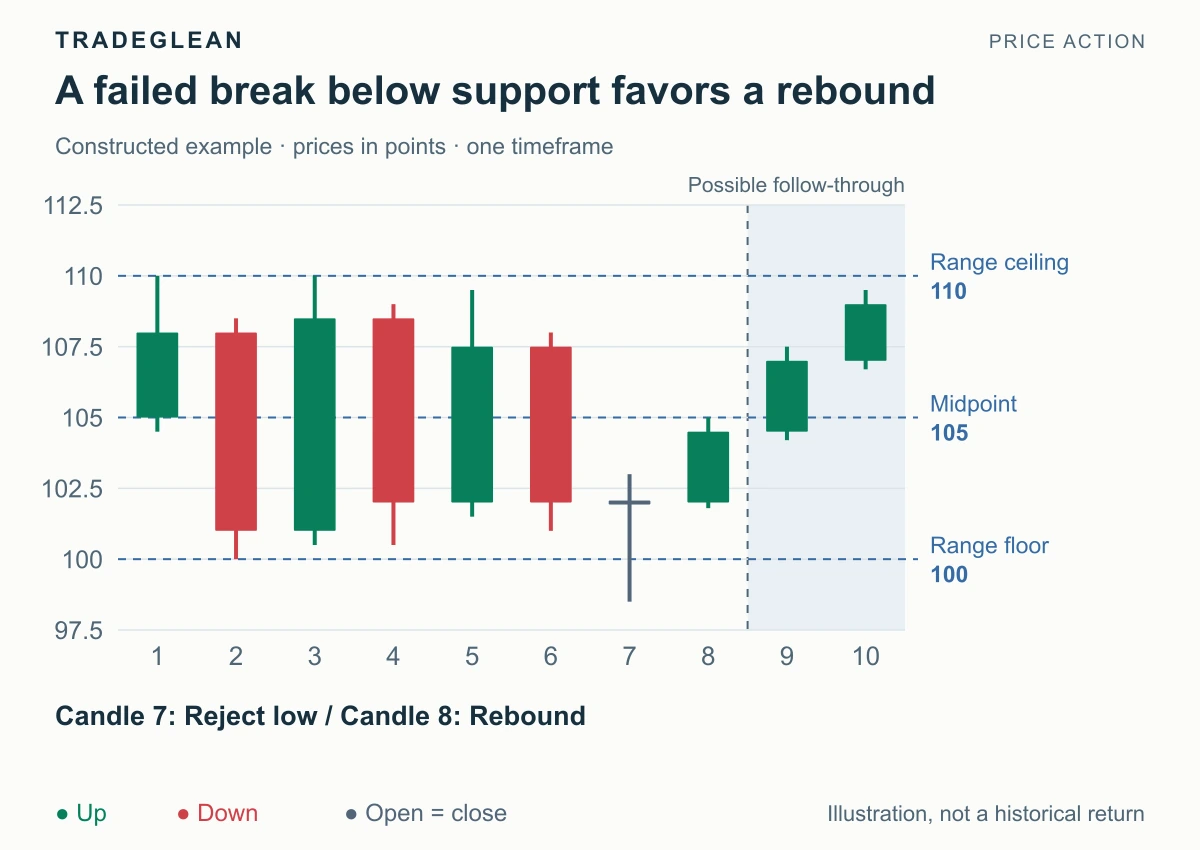
Identify a trading range, distinguish its edges from the middle, and read bullish rejections at the floor or bearish rejections at the ceiling.
Read article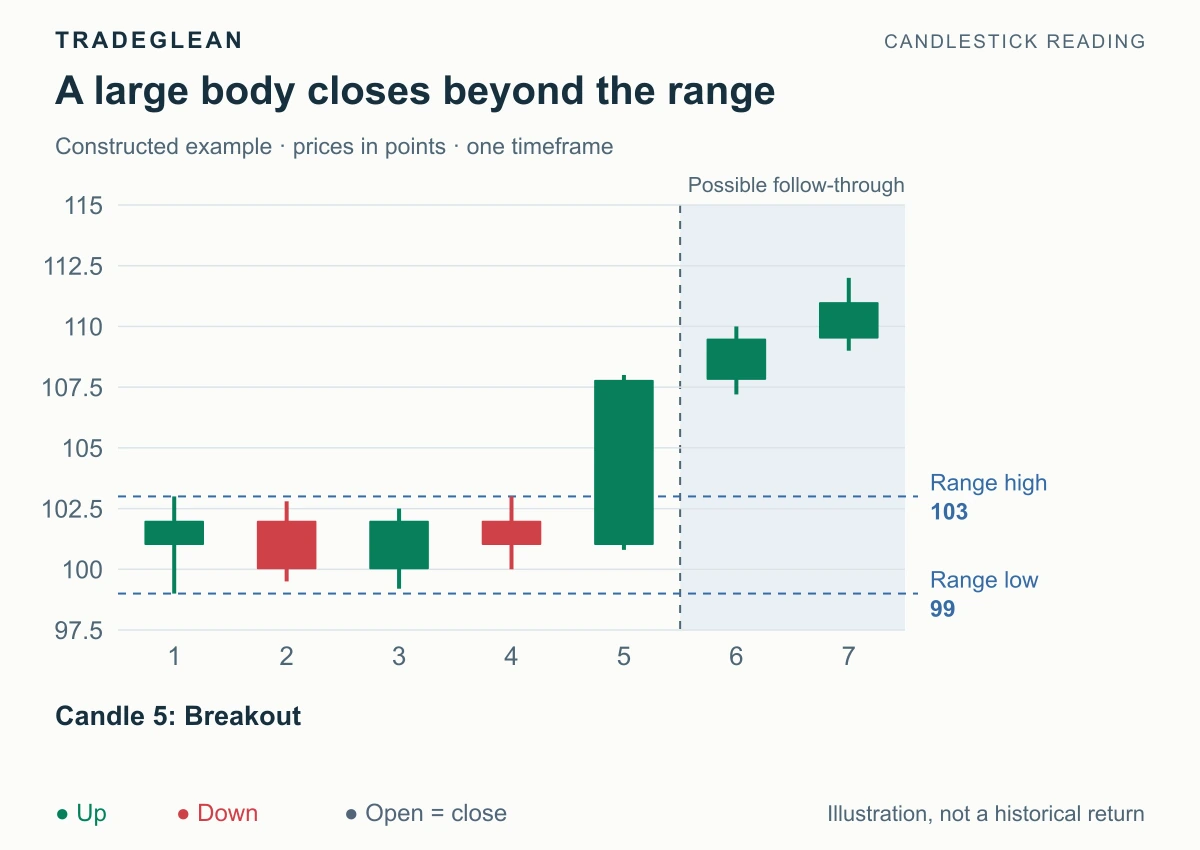
Learn what a breakout candle is, compare bullish and bearish closing breaks, spot wick-only attempts, and separate confirmation from an entry fill.
Read article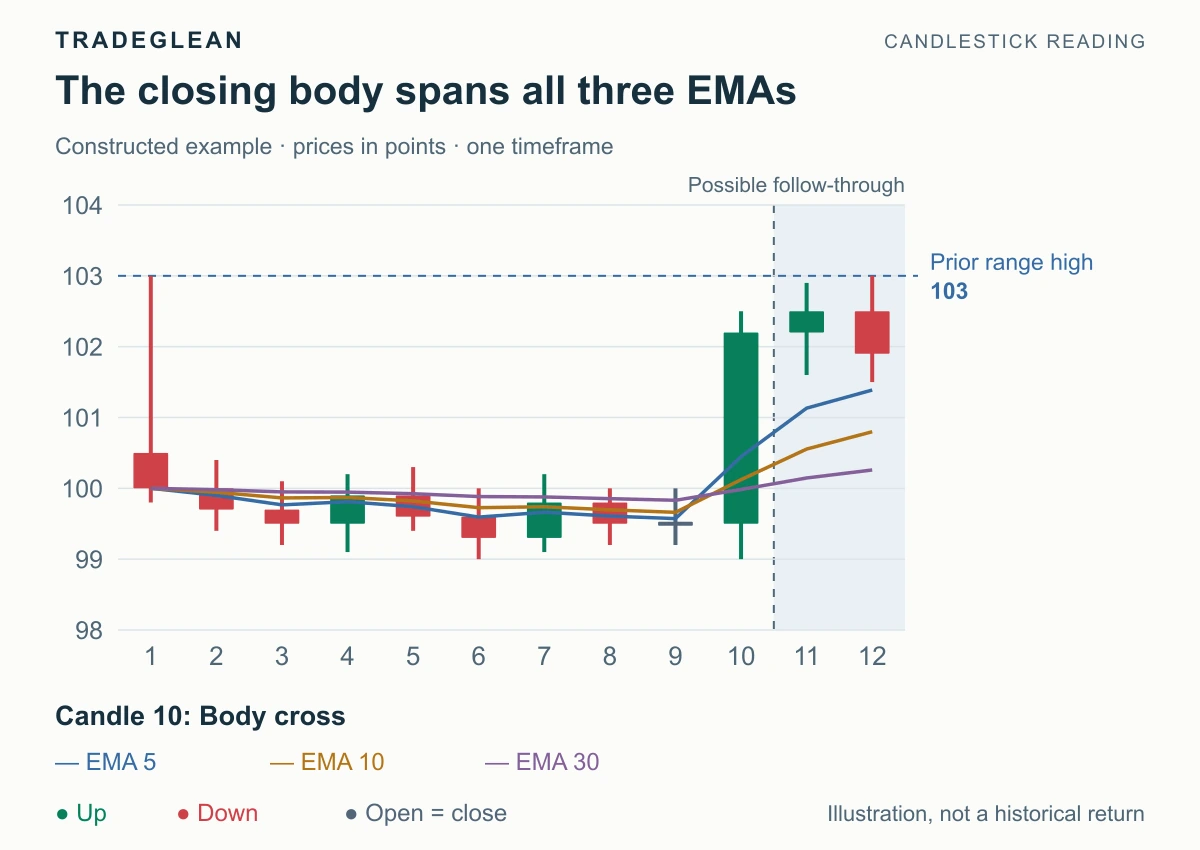
Identify a green body crossing the 5-, 10-, and 30-period EMAs, then use a range break and retest to turn that bullish shift into a practical setup.
Read article